

Introduction: Blooming - Make a Wish
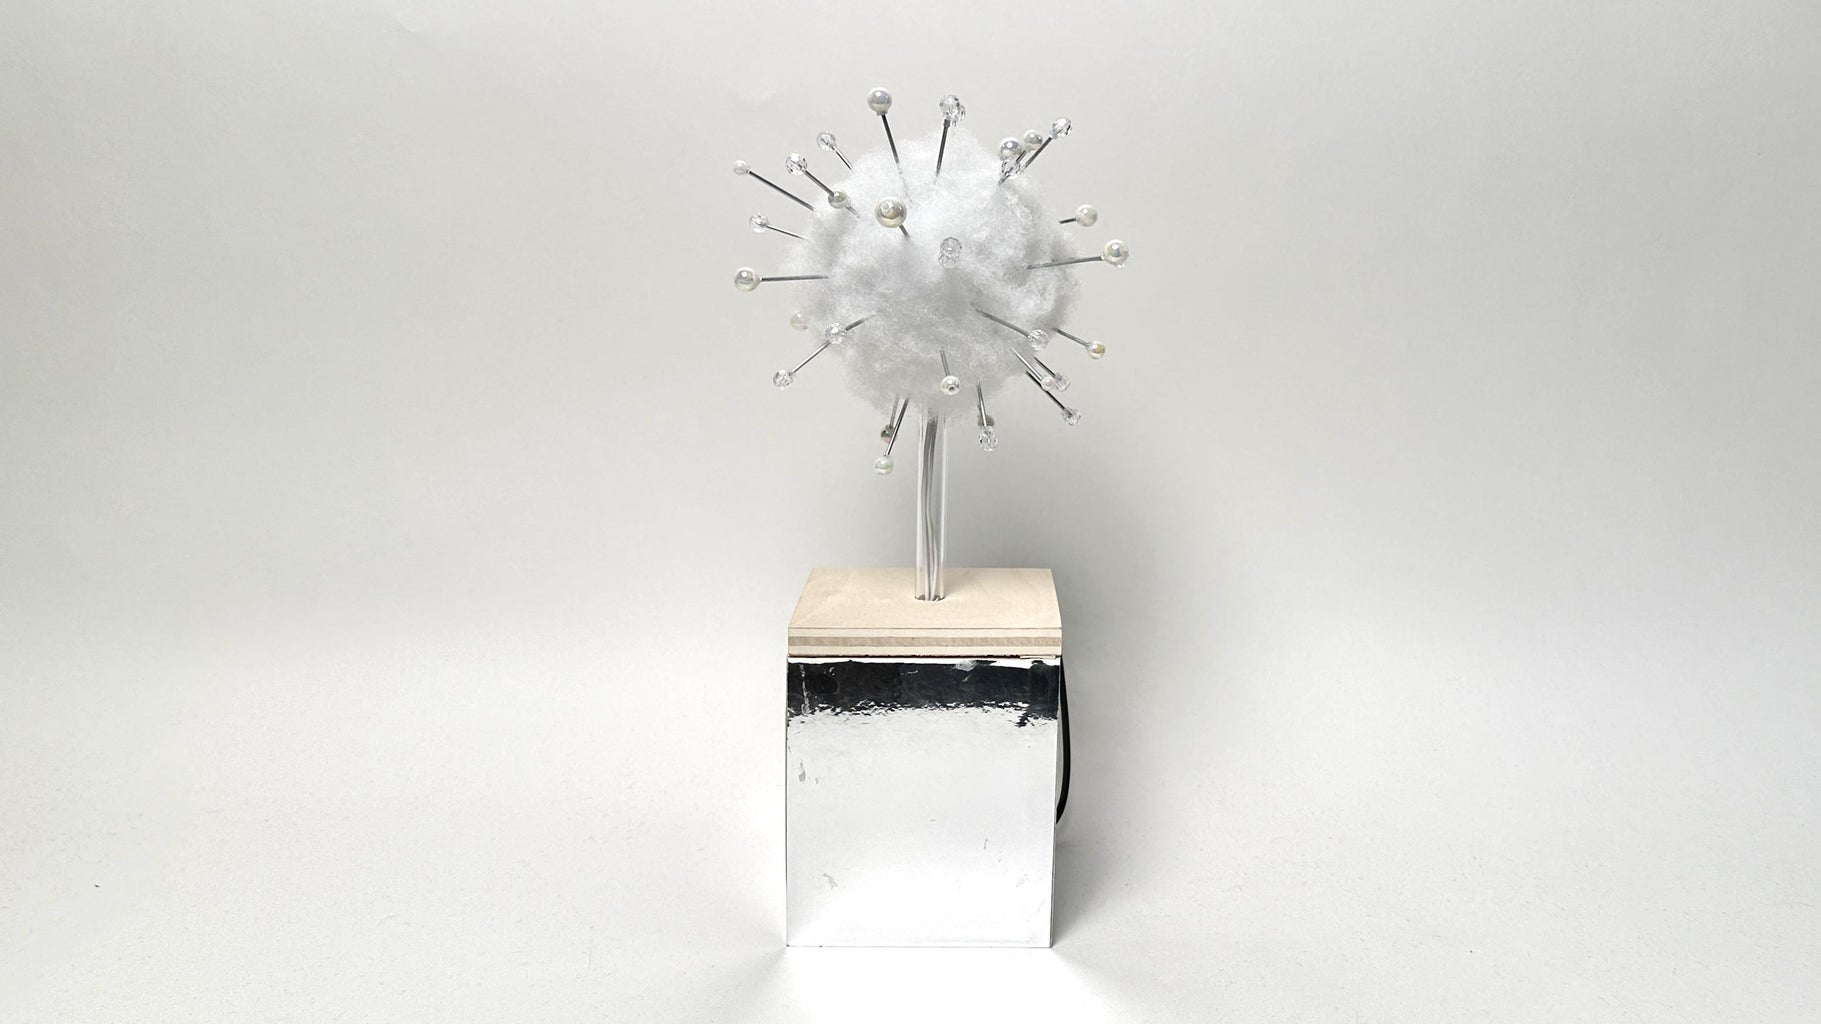

Introducing a unique interactive device that blends Arduino microphone sound sensors and touch-sensitive design. It is shaped like a dandelion, users can blow gently, triggering a mesmerizing interplay of sound and visuals on the connected computer's Touch Designer display. This interactive creation serves as a personalized stress-relief mechanism and a whimsical platform for making wishes, offering individuals a delightful escape and moments of tranquility in their daily lives.
Supplies

Materials:
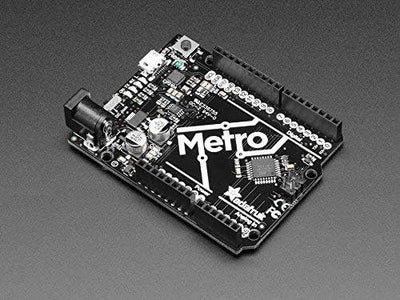
- Adafruit Metro 328 with Headers - ATmega328
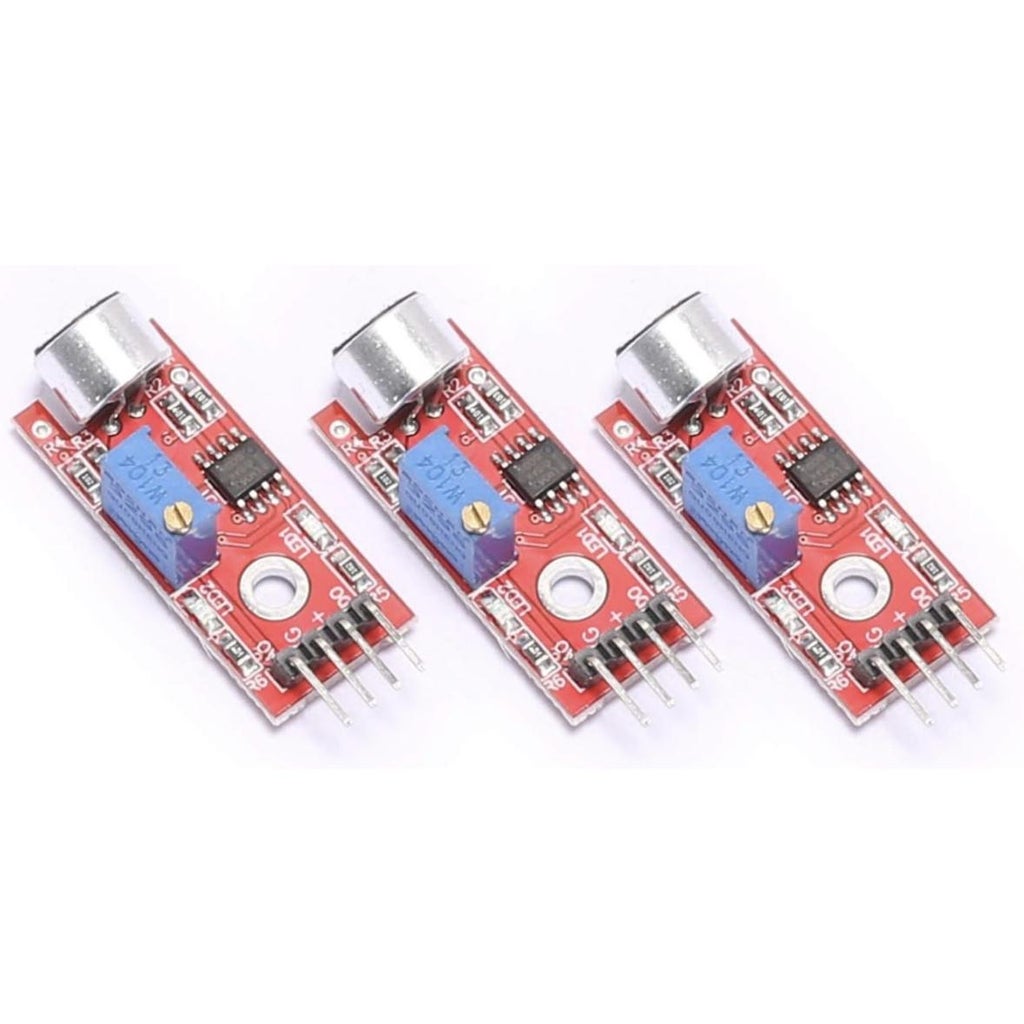
- Sound Microphone Sensor
- White LED Diode Light
- Cotton - Make dandelions
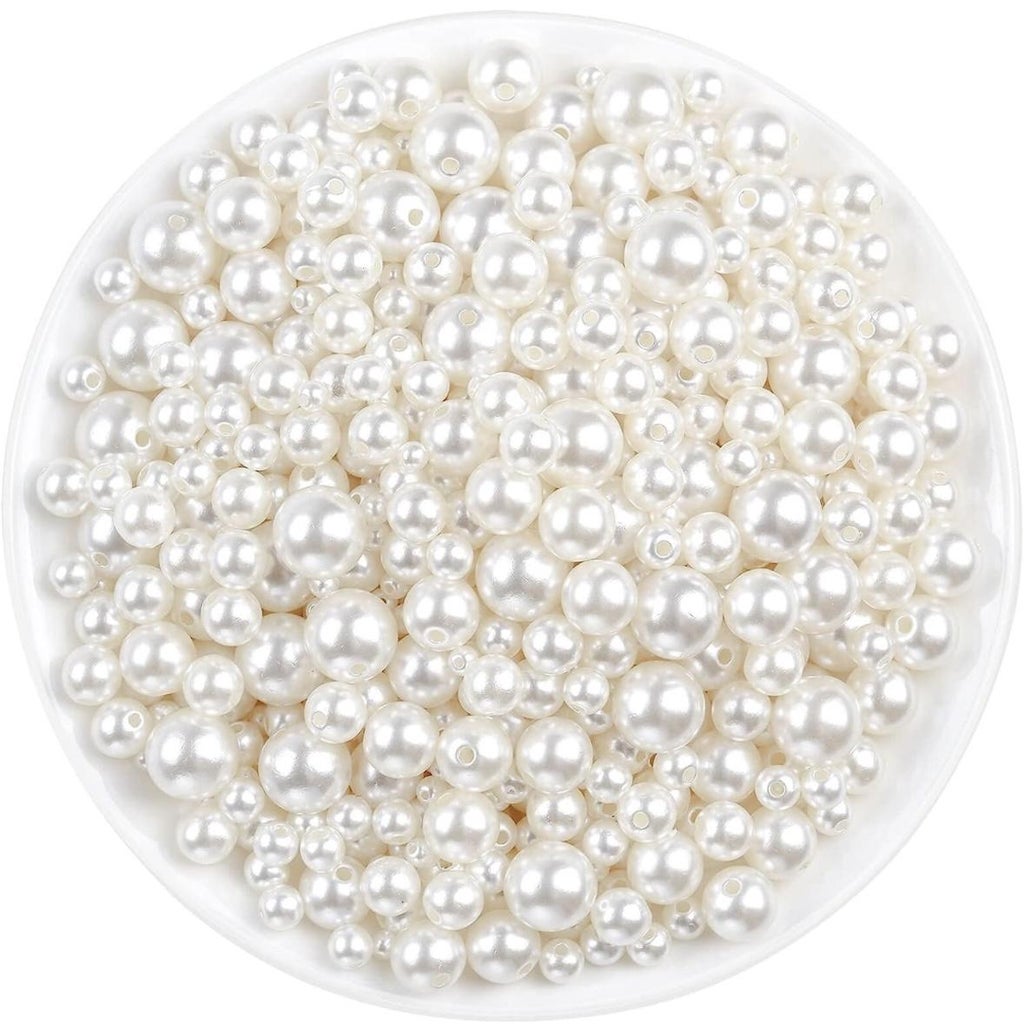
- Pearl Beads
- Wire 2m- dandelion stem
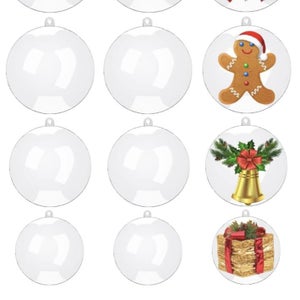
- Clear Fillable Ornaments Ball 50mm
- Wood Board 11mm thick
- Silver Metallic Paper A3
- Clear Colorless Acrylic Round Tube
- Laptop
Software:
- Arduino
- TouchDesigner
Step 1: Microphone Sensor Code & Circuit Testing
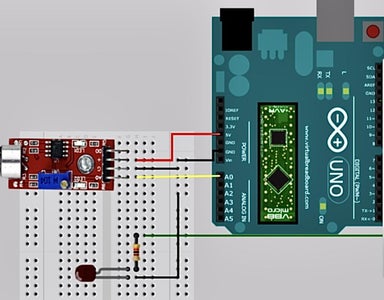
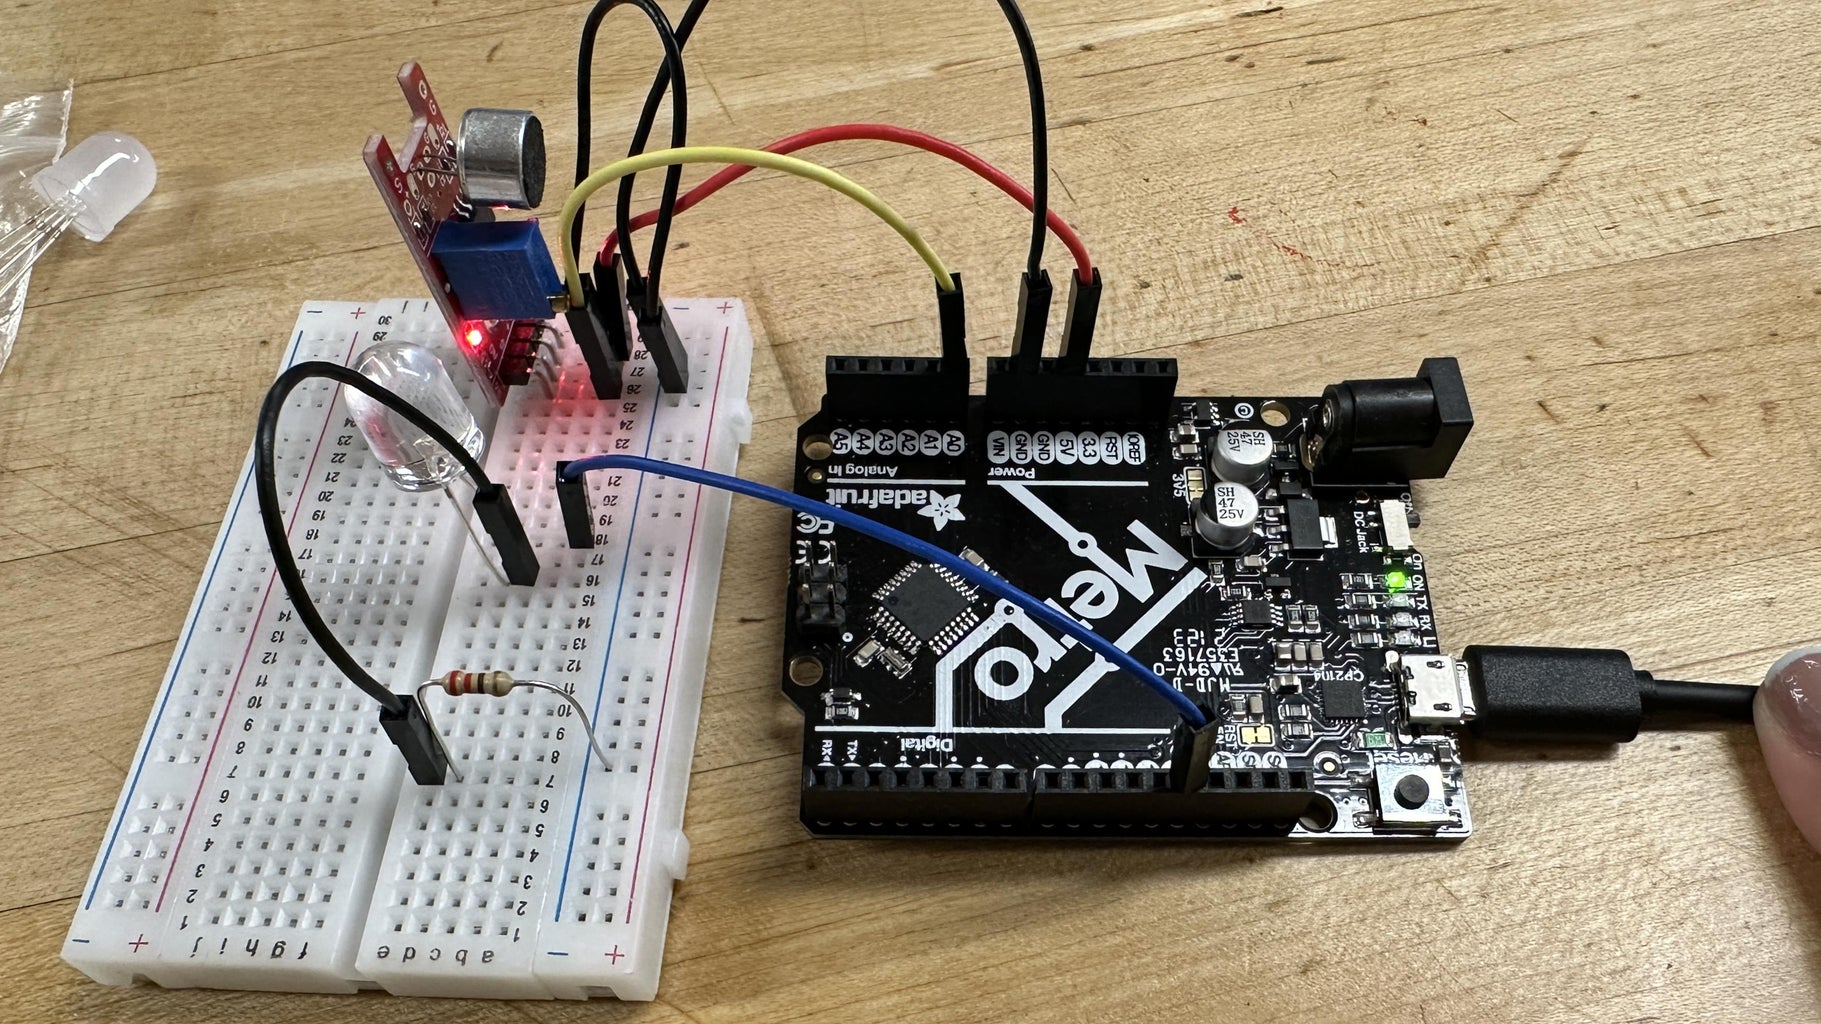

This step involves testing and configuring the sound sensor to ensure the connection between lights and sound.
Follow these steps:
- Connect the Circuit: Wire the sensor, light bulb, and resistor in parallel.
- Connect the Metro Board: Use a USB data cable to connect the Metro Board to the PC.
- Open Arduino Software: Launch the Arduino software, input the code, and modify the connection port.
- Verify and Upload the Code: Confirm the code's accuracy and upload it to the board.
Attachments

Step 2: Connect Arduino With TouchDesigner

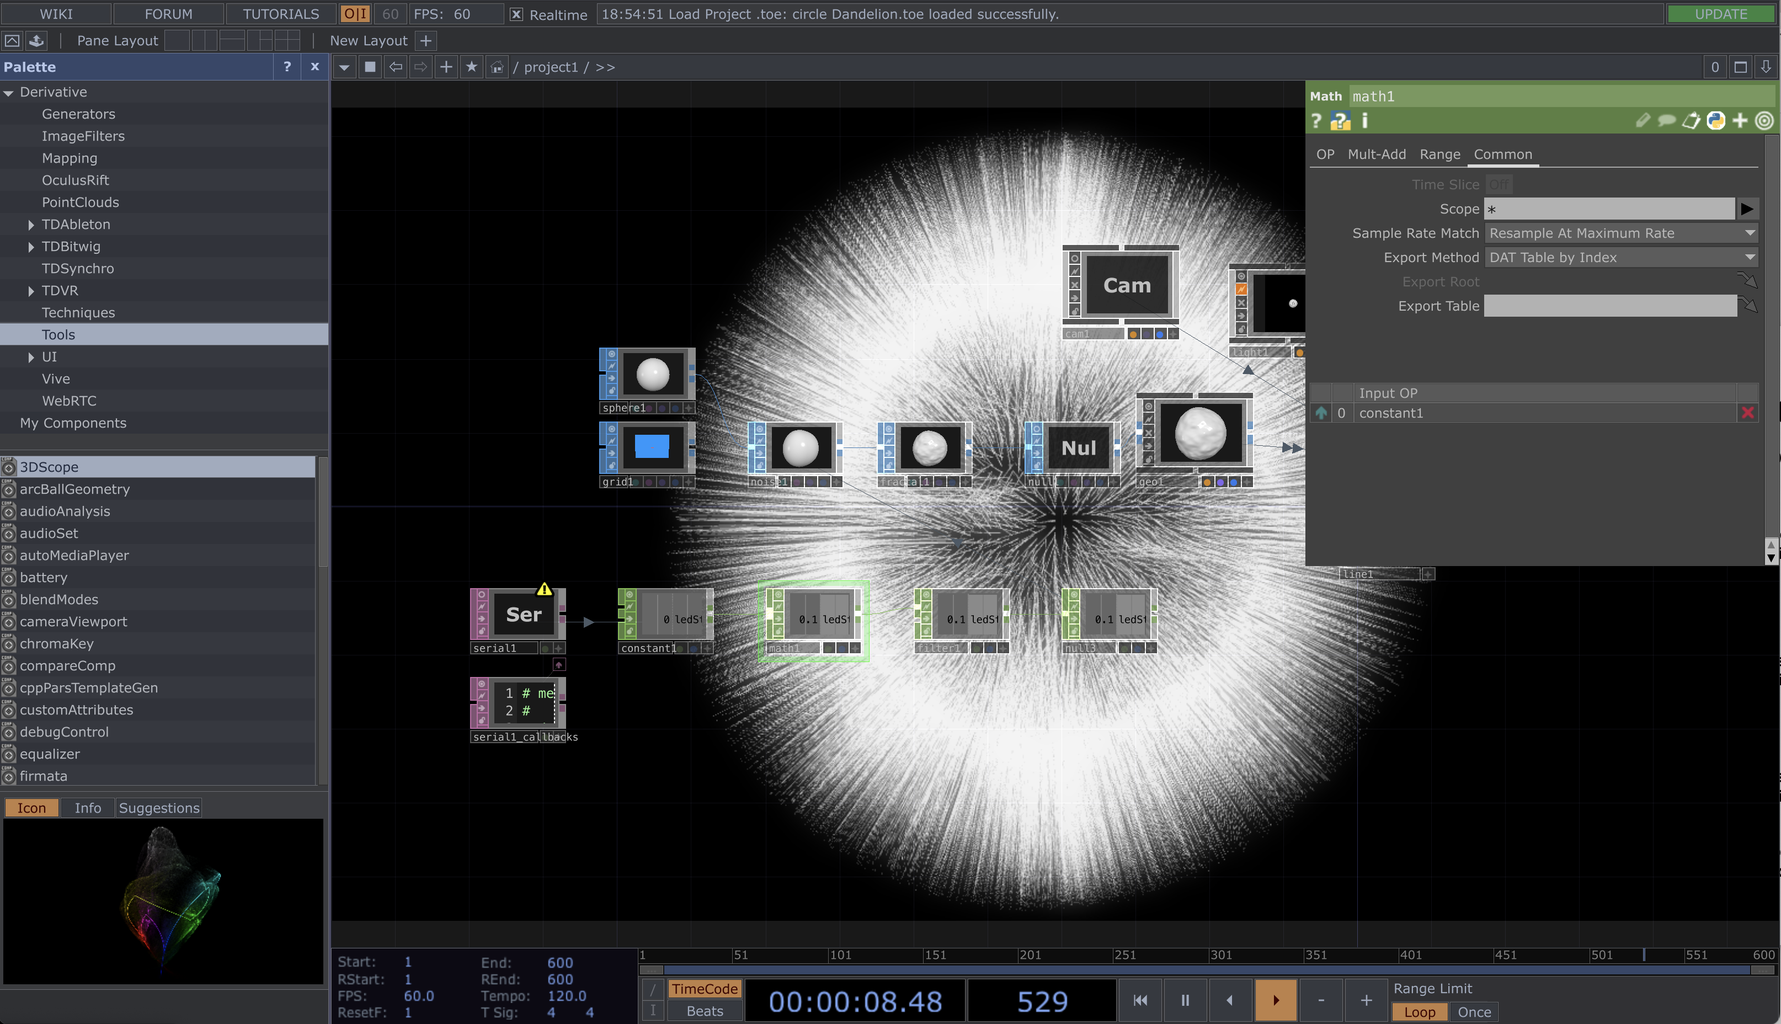
The connection between Arduino and TouchDesigner is crucial for testing the interaction between sound and light. This step aims to perform a test for the visual effects of a dandelion being blown away. Since you want to create visual effects in TouchDesigner and simultaneously connect Arduino sensors to dynamically change parameters in the TouchDesigner file, follow these steps:
- Create a New TouchDesigner File: Start by creating a new TouchDesigner file.
- Build the Shown Operators: Set up the operators as illustrated in your design.
- Create a New Serial Port to Connect Arduino: Add a new component to establish a serial port connection with Arduino. This will enable real-time communication between Arduino and TouchDesigner.
- Create a Window to Preview the Effects: Add a new window in TouchDesigner to visualize the effects and ensure real-time changes based on Arduino sensor data.
Below is the TouchDesigner file connection, which you can directly use:
Step 3: Cut the Wood Board
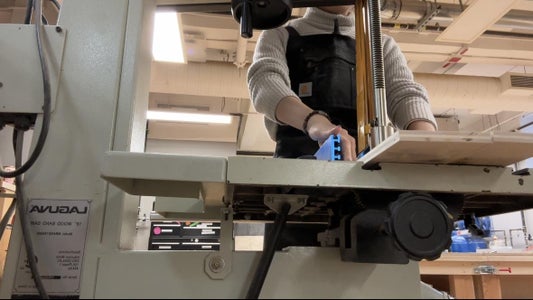
This step involves the manual construction of the dandelion device. Follow these instructions:
- Measure the Dimensions of the 6 Wooden Panels: Begin by measuring the dimensions of the six wooden panels on all sides. Personal preferences can determine the size. As a reference, consider an overall height of 11cm and a width of 10cm.
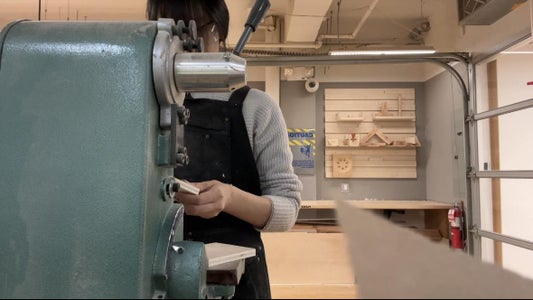
- Cutting with Tools: Use appropriate tools to cut the wooden panels to the measured dimensions. Ensure safety precautions while cutting.
- Sanding: After cutting, sand the edges and surfaces of the wooden panels for a smooth finish.
- Drill a 1cm Diameter Hole in One Panel: Select one of the panels and drill a hole with a diameter of 1cm. This hole is intended for threading the data cable through.
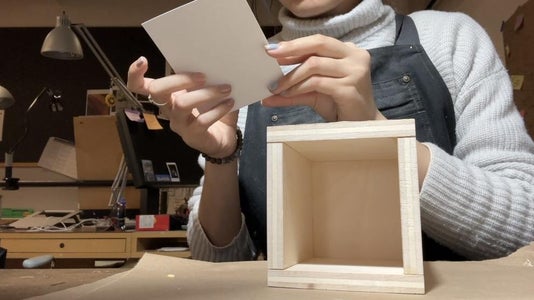
- Leave a Lid Opening: Reserve one of the panels as the lid. Use wood glue specifically designed for wood bonding to glue the remaining five panels together. Ensure that an opening is left for the lid.
- Stick the silver metallic paper to the panels'surface.
These steps guide you through the handmade construction of the dandelion device. Remember to prioritize safety while using tools and adhere to proper woodworking techniques.
Step 4: Solder the Arduino Circuit
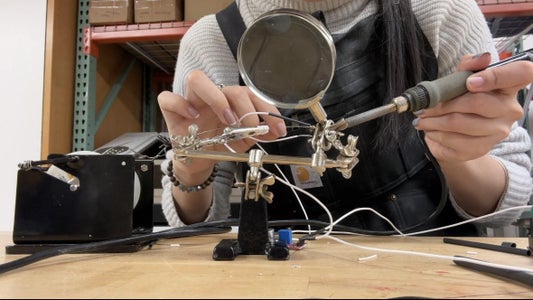
This step involves soldering the assembled Arduino circuit. Follow these instructions:
- Prepare the Debugged Arduino Circuit: Ensure that your Arduino circuit has been debugged and is ready for assembly.
- Soldering Connections: Use a soldering iron to securely solder the connections between the various components of the circuit. Be careful to avoid cold solder joints and ensure a strong, reliable connection.
- Insulate Exposed Wires with Rubber Protection: Identify any exposed wires in the circuit. To prevent short circuits and ensure safety, cover these exposed areas with rubber protection sleeves or heat-shrink tubing.
- Apply Heat Using a Heat Gun: If using heat-shrink tubing, apply heat to the tubing using a heat gun. This will cause the tubing to shrink and snugly fit around the wires, providing insulation and protection for the entire circuit.
- Inspect for Quality: After soldering and insulating, carefully inspect the entire circuit to ensure that all connections are secure, and there are no exposed wires that could cause a short circuit.
By following these steps, you can effectively solder the Arduino circuit, insulate exposed wires, and use a heat gun to ensure a secure and well-protected electrical connection.
Step 5: Assembled the Plastic Tubes and Wood Board
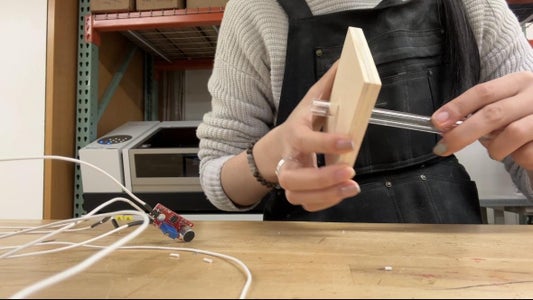
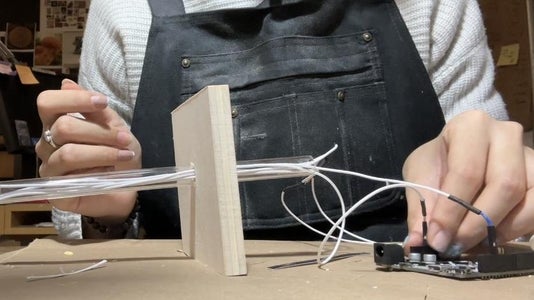
This step involves combining the cut plastic tubes with the assembled wooden boards. Follow these steps:
- Thread Through Small Holes: Insert the cut plastic tubes through the small holes in each wooden board. Ensure that the diameter of the small holes matches the diameter of the plastic tubes for a secure fit.
- Thread Wired Connections through Plastic Tubes: Thread the soldered wires through the plastic tubes. This will help conceal the wires, providing a neater overall appearance and offering some protection.
By following these two steps, you can effectively combine the plastic tubes and wires with the wooden boards. Ensure all elements are securely connected, prevent damage to the wires, and maintain the overall structure's stability. This will create a stable and tidy foundation for your dandelion device.
Step 6: Creating the Tendrils of the Dandelion
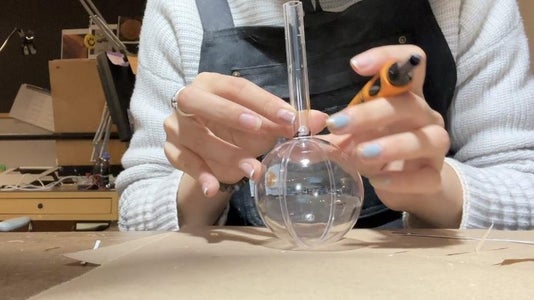
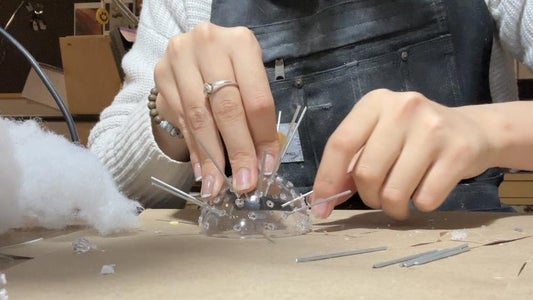
This step involves creating the tendrils of the dandelion. Follow these instructions:
- Create Cavities in Plastic Balls: Use a tool that can melt high-temperature plastic to carve out cavities at both ends of the plastic balls. Be cautious not to make the lower end too large, ensuring it can snugly fit onto the ports of the plastic tubes.
- Adhere Transparent Plastic Balls and Tubes: Use a glue gun to securely attach the transparent plastic balls to the plastic tubes.
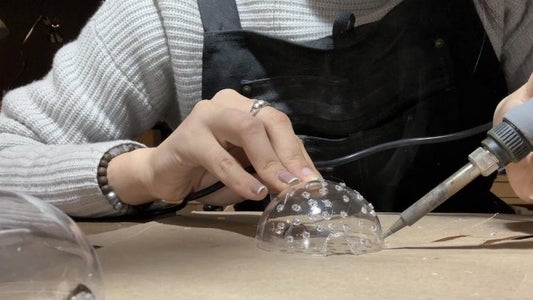
- Drill Holes in Plastic Balls: Use a high-temperature tool to drill several small holes on the surface of the plastic balls, allowing wires to pass through.
- Cut and Thread Wire Segments: Cut the wire into small segments and thread them through the small holes in the plastic balls.
By following these steps, you can create the tendrils for your dandelion. The cavities in the plastic balls, along with the wire segments, will contribute to the overall visual effect of the dandelion being blown away.
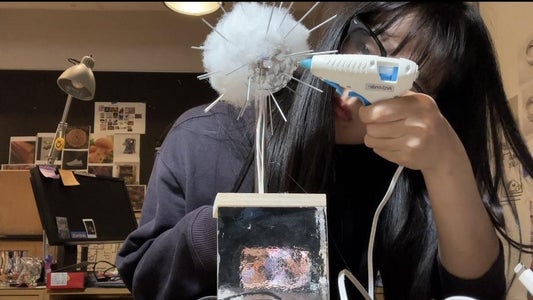
Step 7: Final Assembly & Decoration
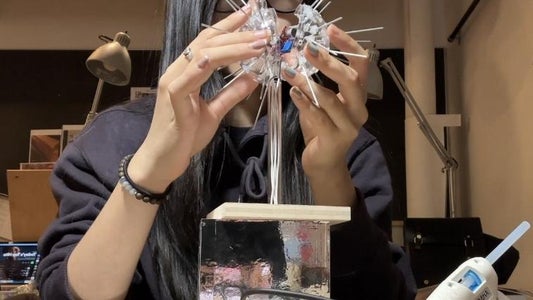
This step involves assembling the small balls and attaching them to the wooden box. Follow these instructions:
- Assemble Small Balls and Wooden Box: Complete the assembly of the small balls and ensure that the wooden box is also assembled.
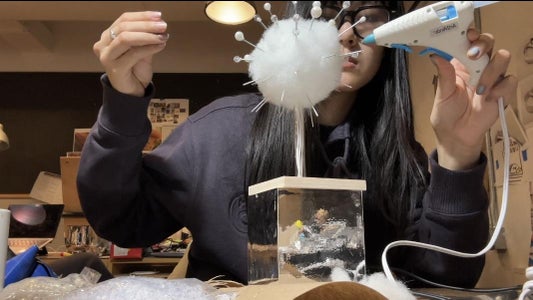
- Apply Hot Glue to Plastic Balls: Apply hot glue to the plastic balls and attach several cotton balls onto the surface of each ball. This will give the appearance of the dandelion seeds.
- Attach Decorative Pearls and Beads: Use hot glue to affix decorative pearls and small beads to the top end of the wire segments. This will add an embellishment to the top of each tendril.
By following these steps, you can enhance the visual appearance of the dandelion by adding cotton for the seeds and decorating the top of the wire segments with pearls and beads. This will contribute to the overall aesthetic of the dandelion device.
Step 8: Blow the Sensor and See It Shine!

Connect the Arduino Sensor to the Computer: Ensure that the Arduino sensor is properly connected to your computer. Upload the code to the Arduino using the Arduino software.
- Close the Arduino Interface, and Open TouchDesigner: Close the Arduino software and open the TouchDesigner interface on your computer.
- Blow Air Towards the Sensor: Direct airflow towards the sensor using your breath or another source.
- Observe Your Dandelion: Watch to see if your dandelion device responds as intended based on the sensor input. Enjoy the results of your interactive creation!
These steps guide you through the process of connecting the Arduino sensor to your computer, uploading the code, and testing the interaction with TouchDesigner by blowing air toward the sensor.


Comments
12 days ago
Cool idea, thanks for sharing! :)