
Introduction: DIY Filament Dry Box
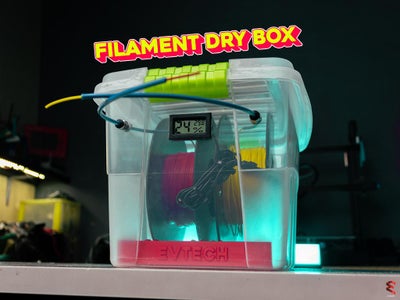


For today's project, we are going to create a Filament Dry Box!
The Problem!
We all know that if the filament absorbs moisture from the air, this can lead to failed prints and nozzle clogs.
But today, we are going to create a dry box that not only prevents it from being exposed to the air but can also dispense the filament to the 3D printer.
VIDEO TUTORIAL:
What are we waiting for? Let's get right into it!
Supplies
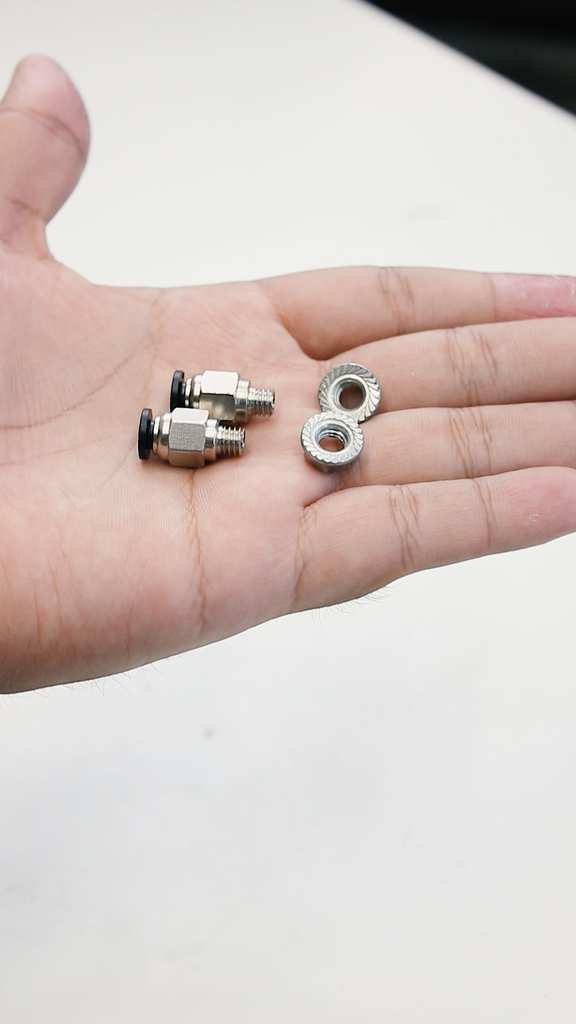
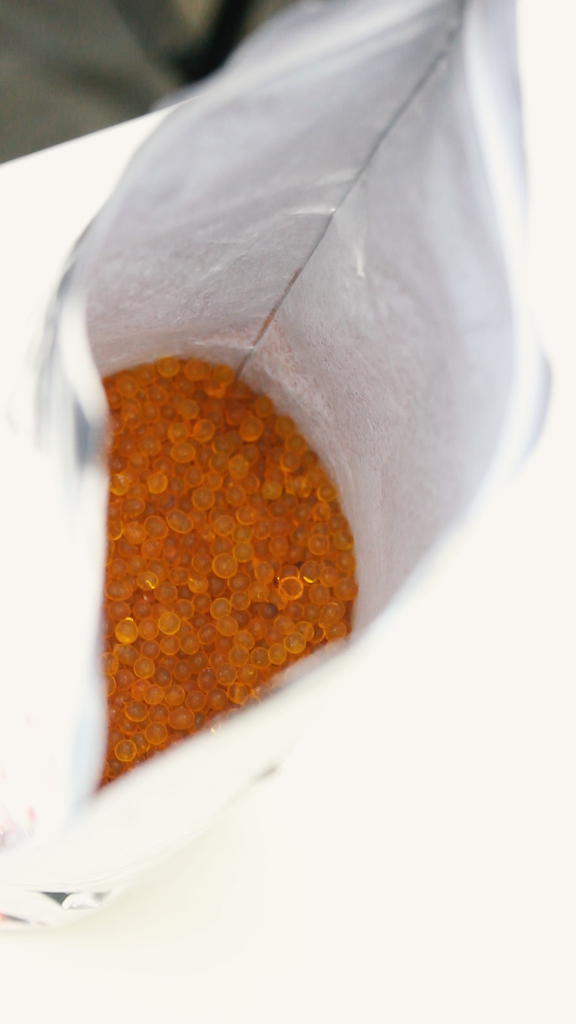
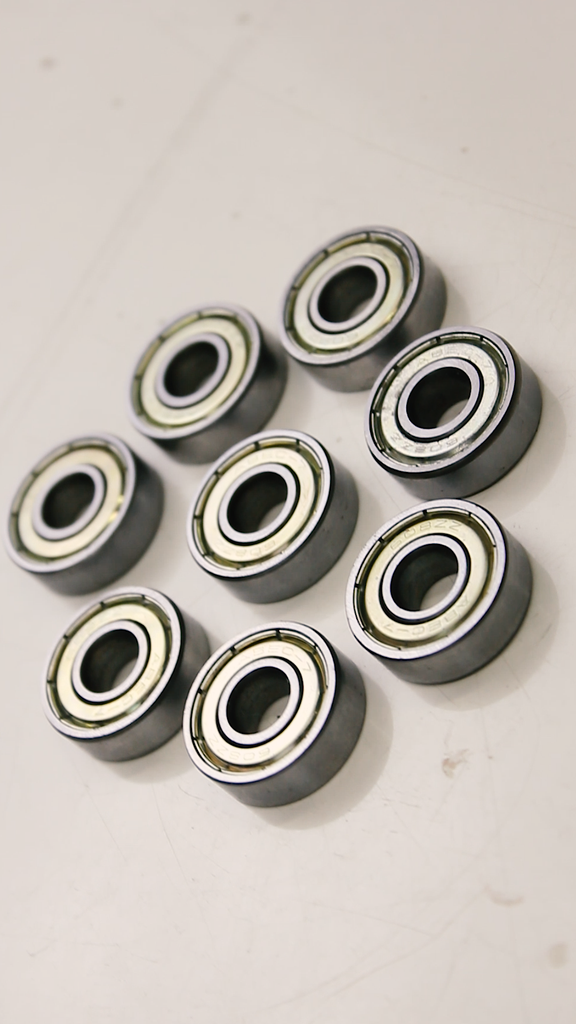
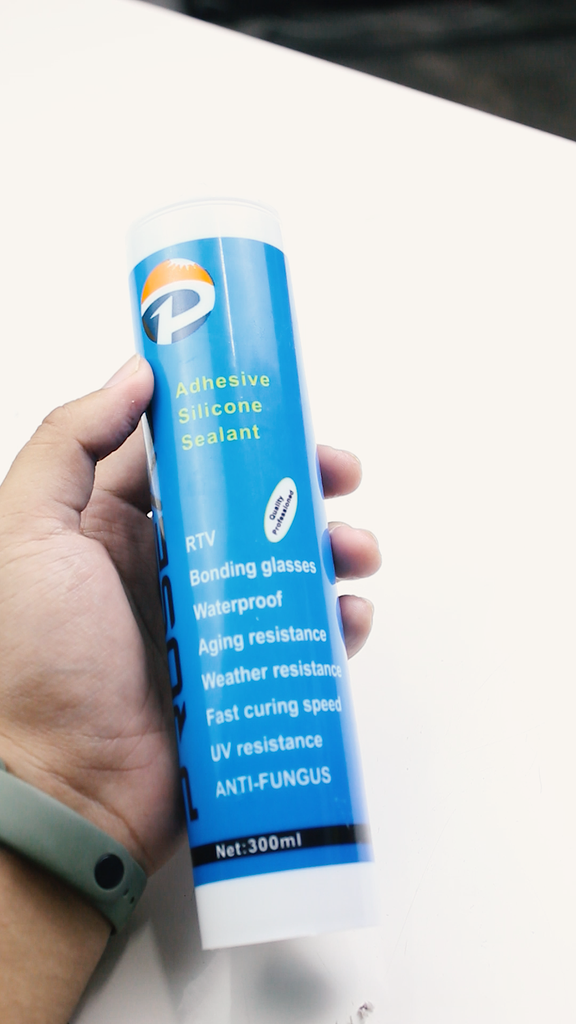
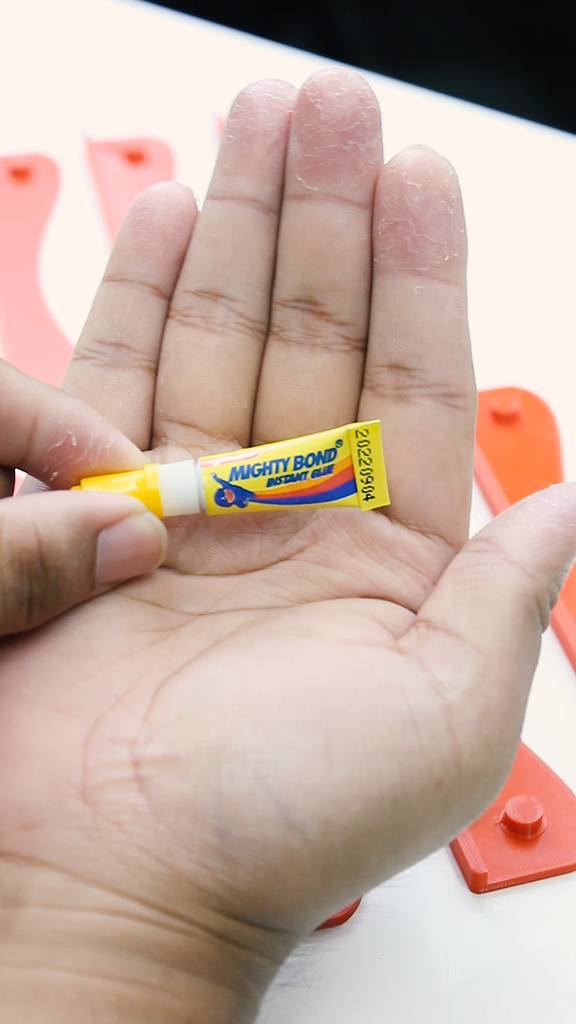
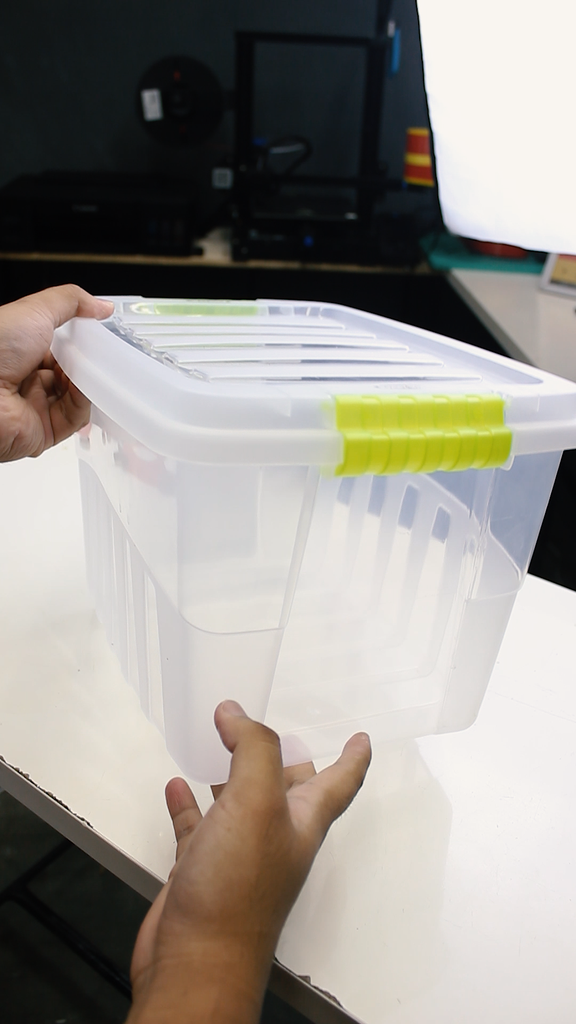
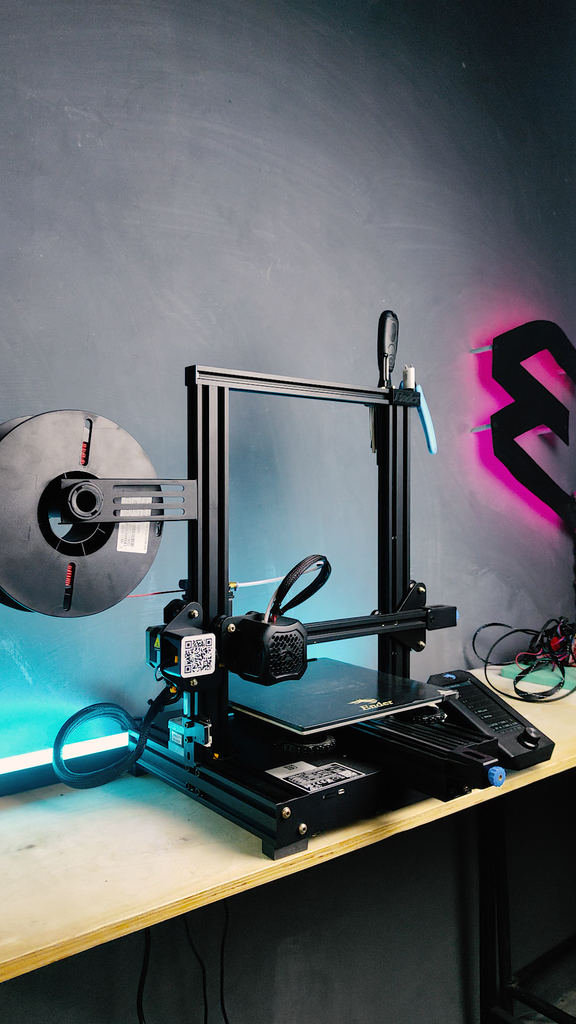
Let's start with the things you will need: a PTFE tube, pneumatic fittings, silica gel, a 608 bearing, silicone sealant, a mini LCD humidity and thermometer meter, adhesive, a container box, and a 3D printer to print the 3D models.
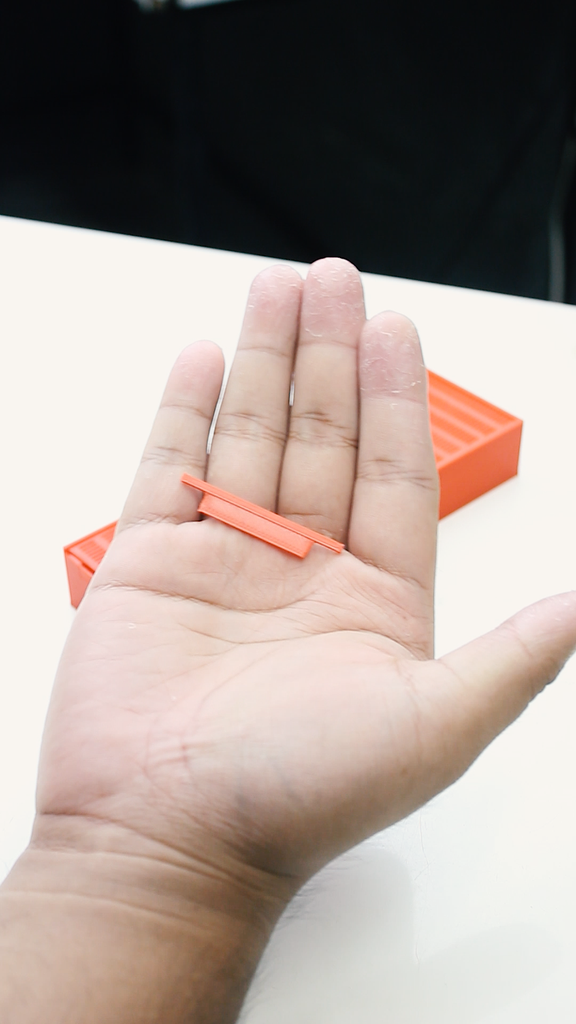
Step 1: 3D Print Some Parts
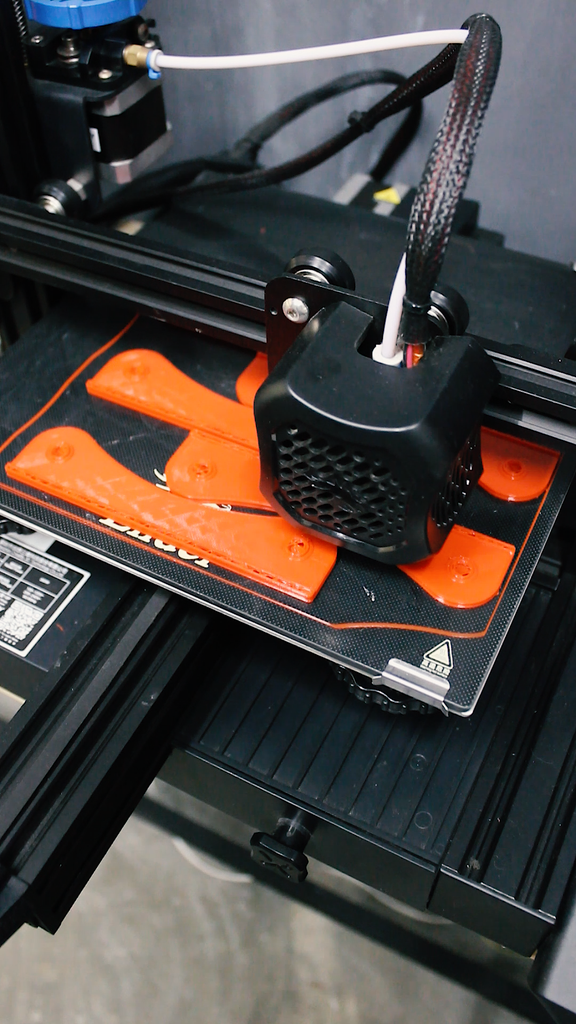
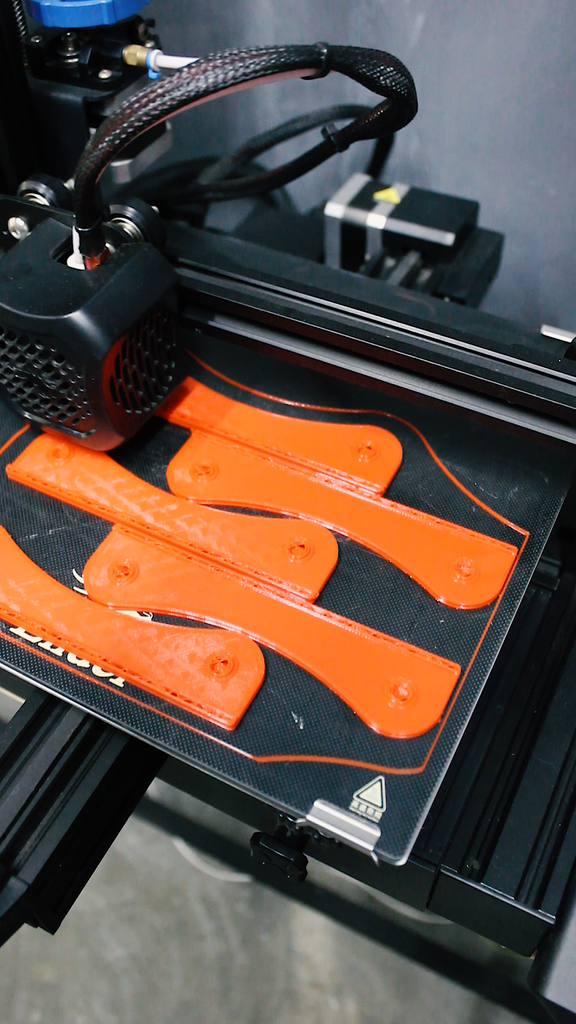
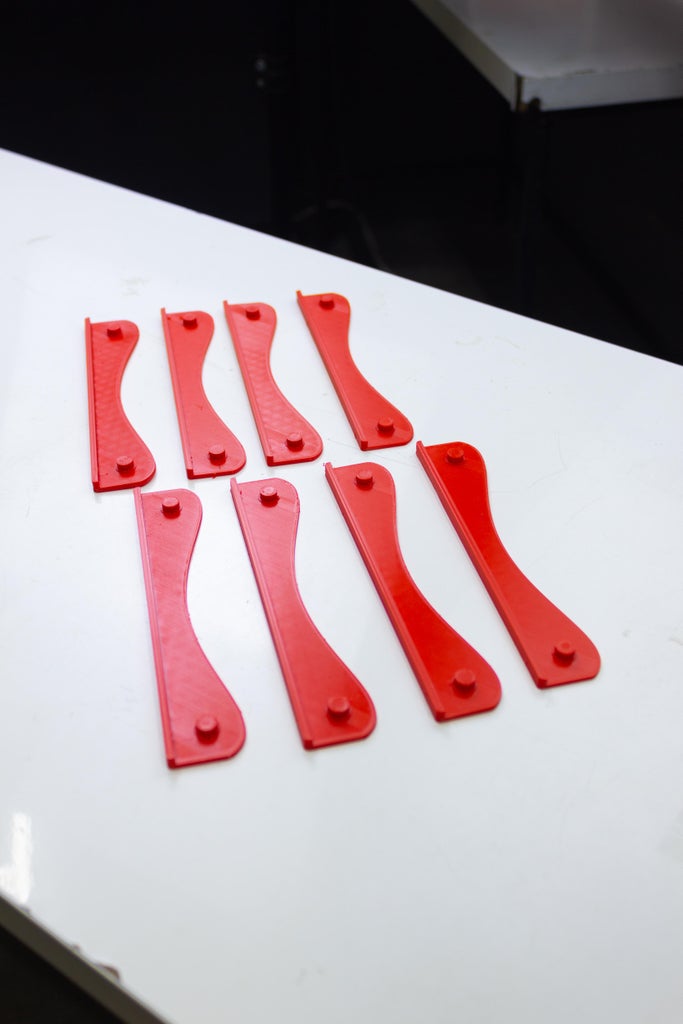
The first thing we need to do is to print this spool holder that is inspired from our generous friend on Thingiverse! Followed by printing the silica gel enclosure.
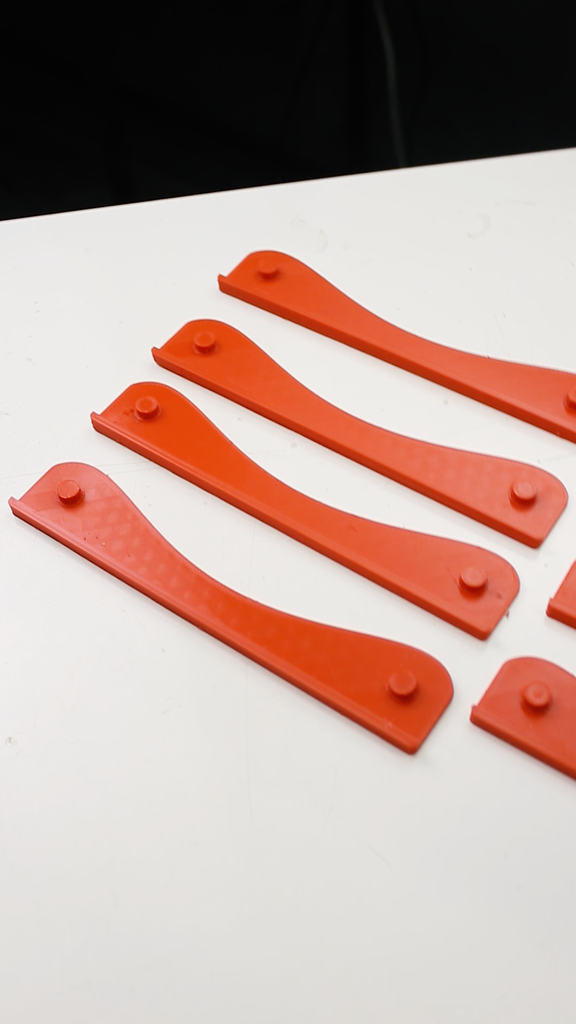
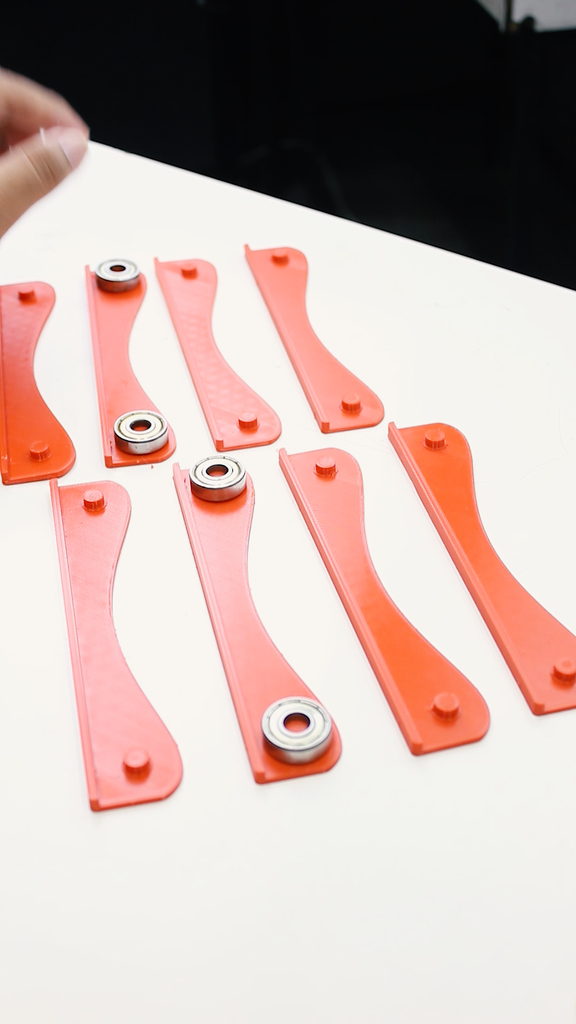
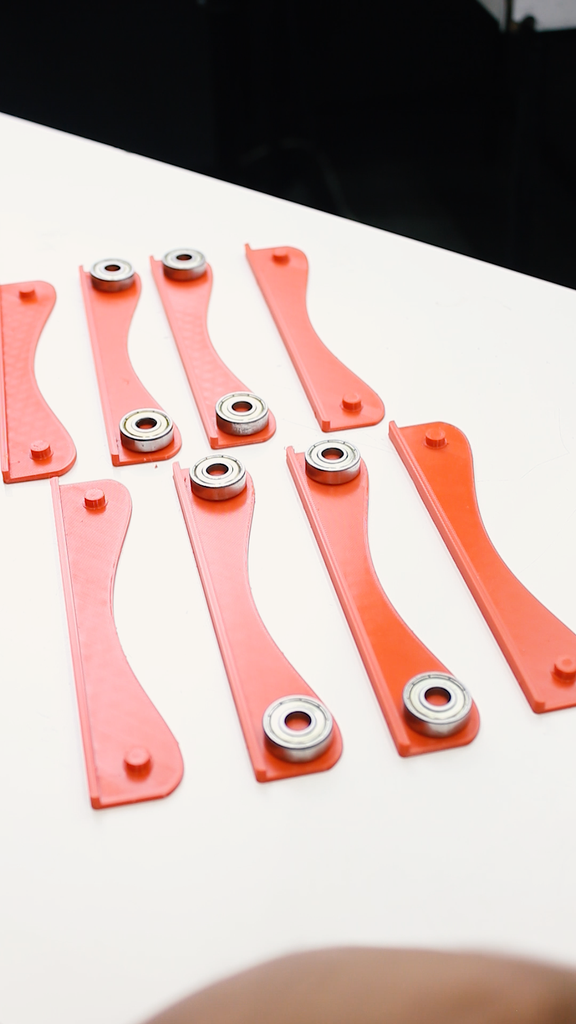
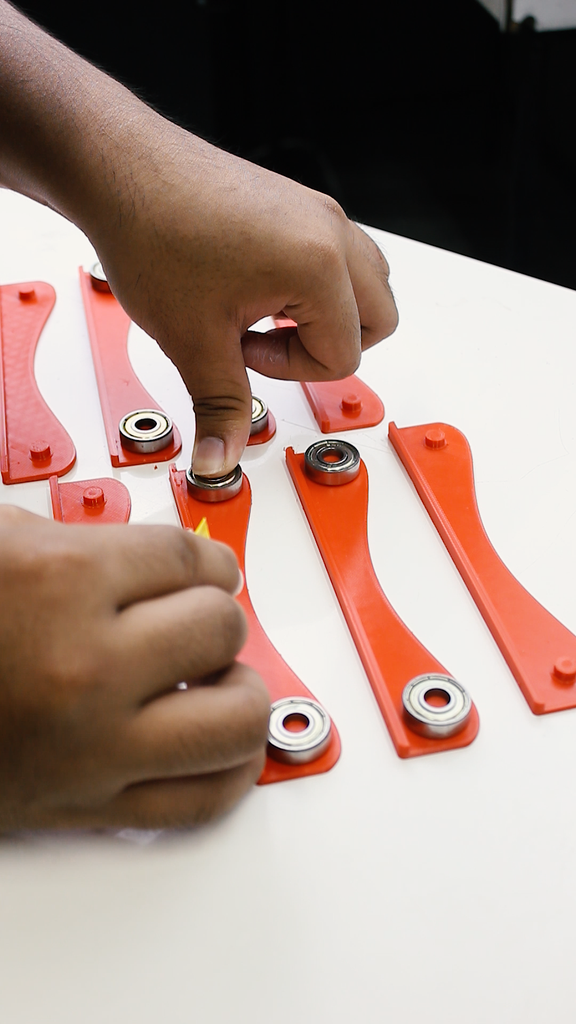
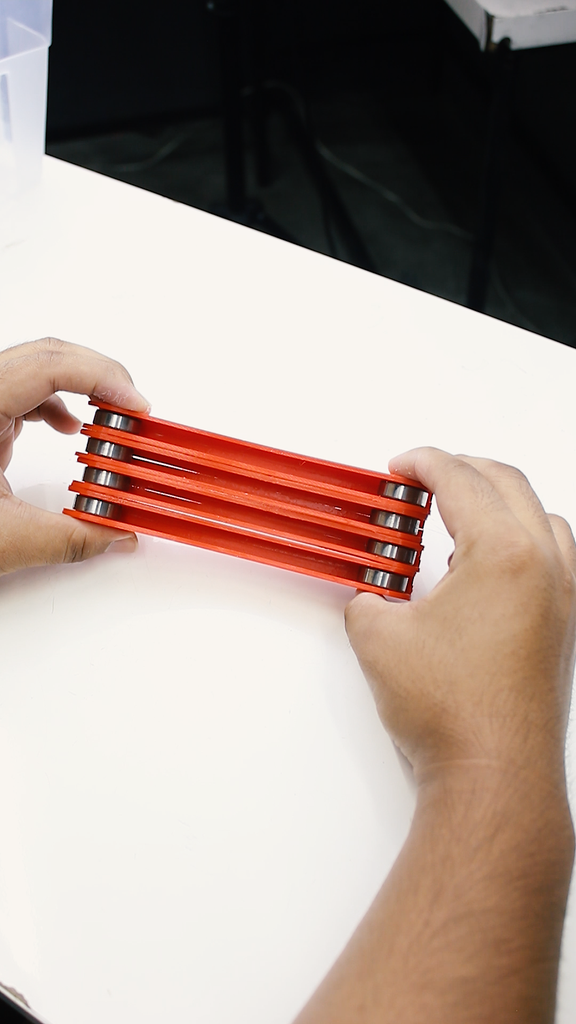
After 3D printing the spool holder, we should insert 2 pcs of 608 bearing in each pair of spool holder. After that, using adhesive, we will assemble the spool holder like a sandwich (hmmm). Repeat this process to generate a total of 4 pairs of spool holders.
Thingiverse Link: ( https://bit.ly/3SVOrvY )
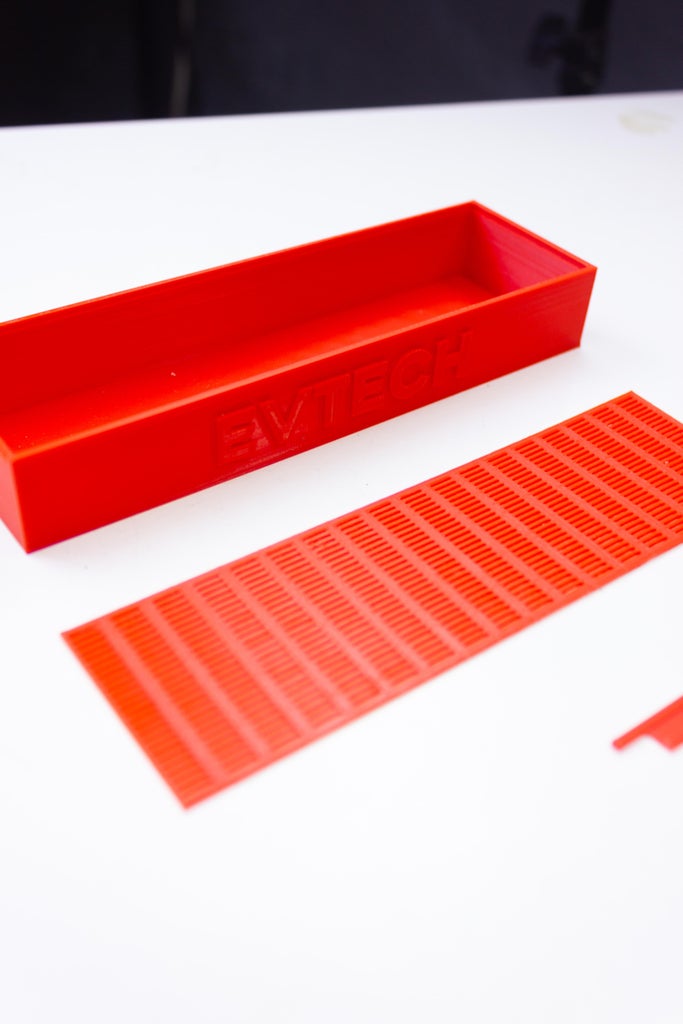
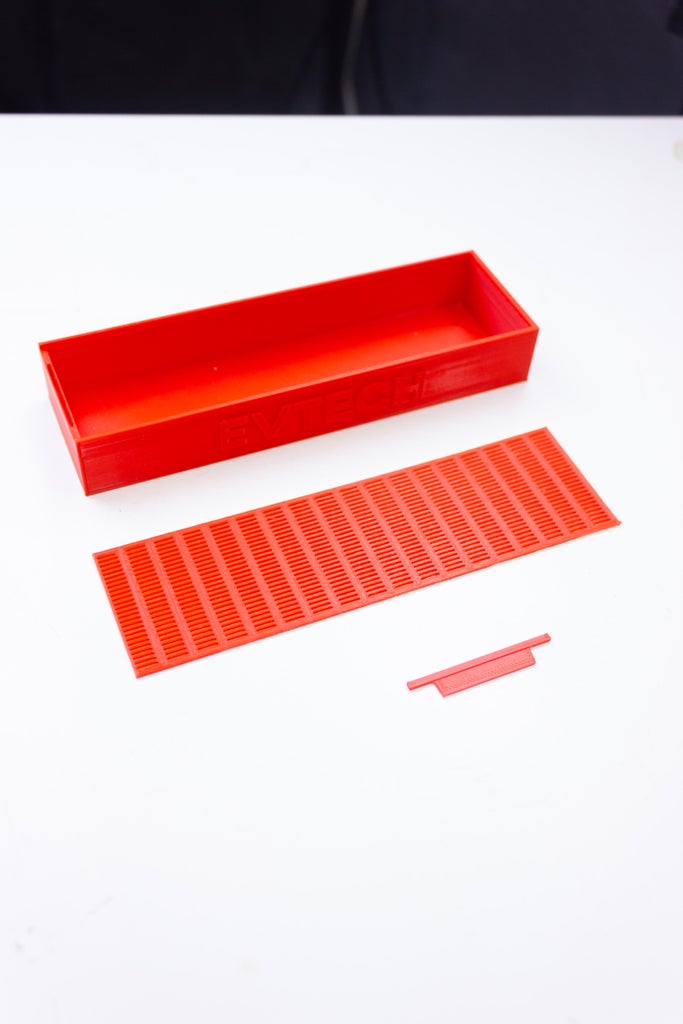
3D Model of Modified Spool Holder
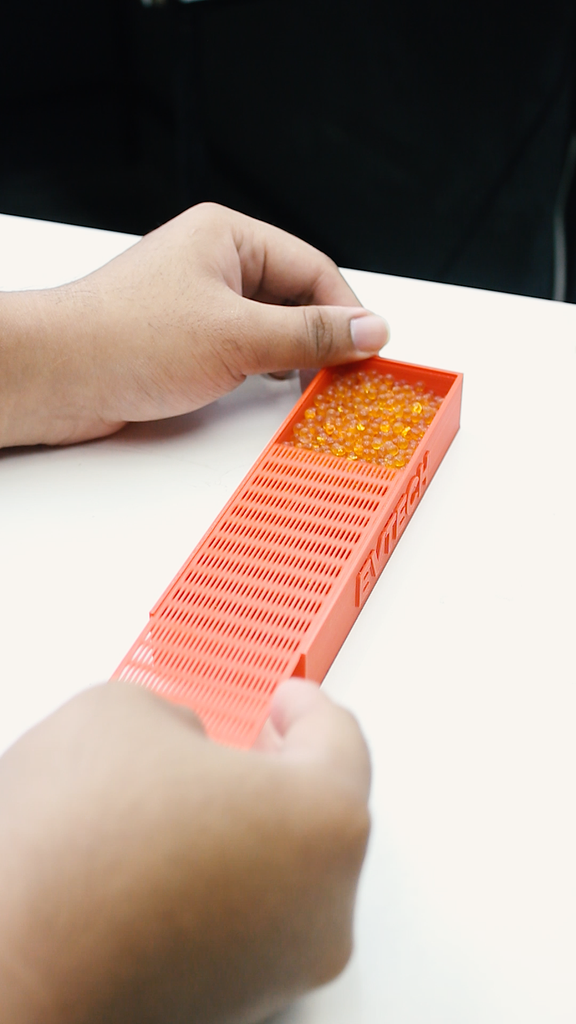
3D Model of Silica Gel Enclosure


Step 2: Installing Mini LCD and Pneumatic Fittings


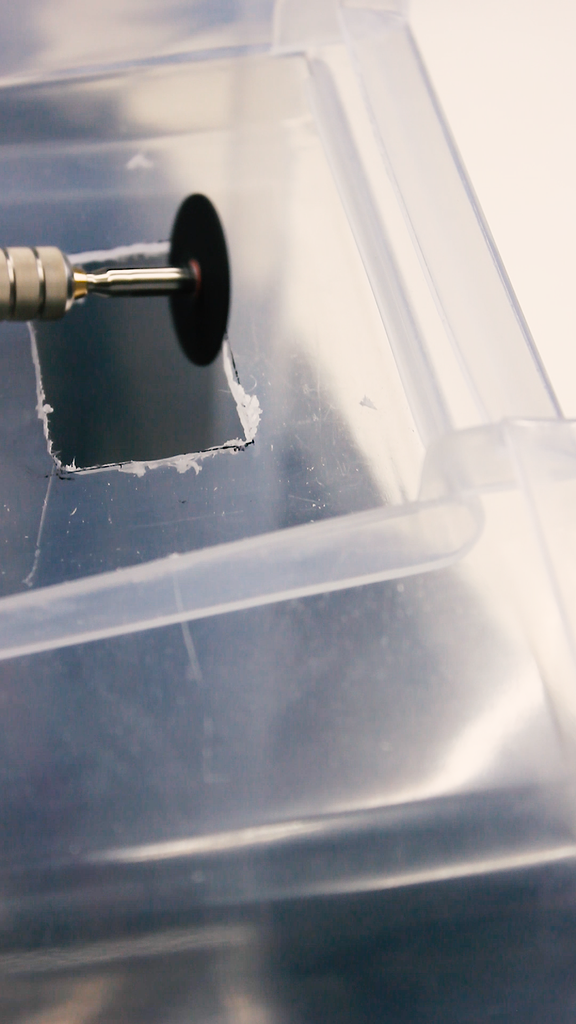
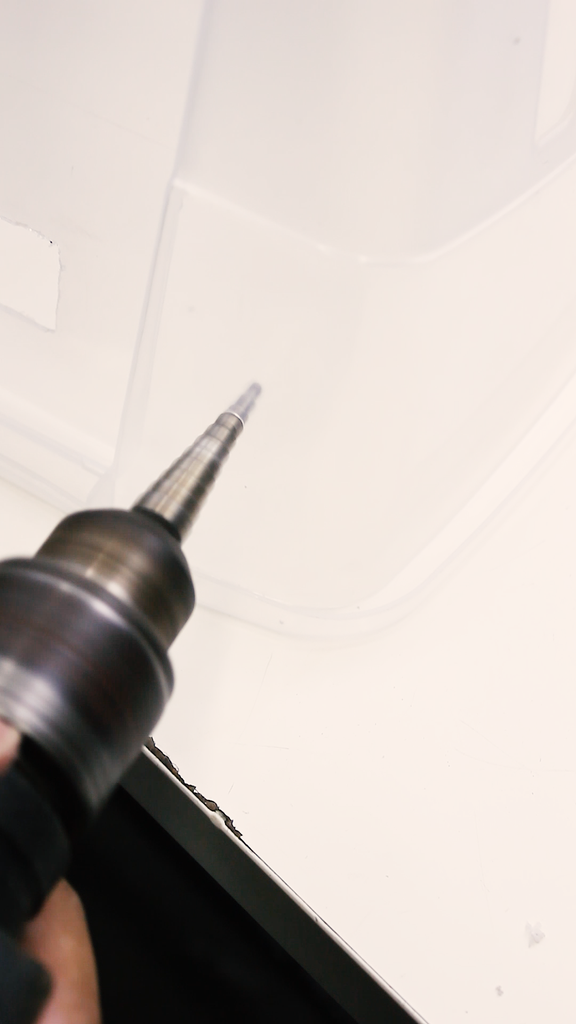
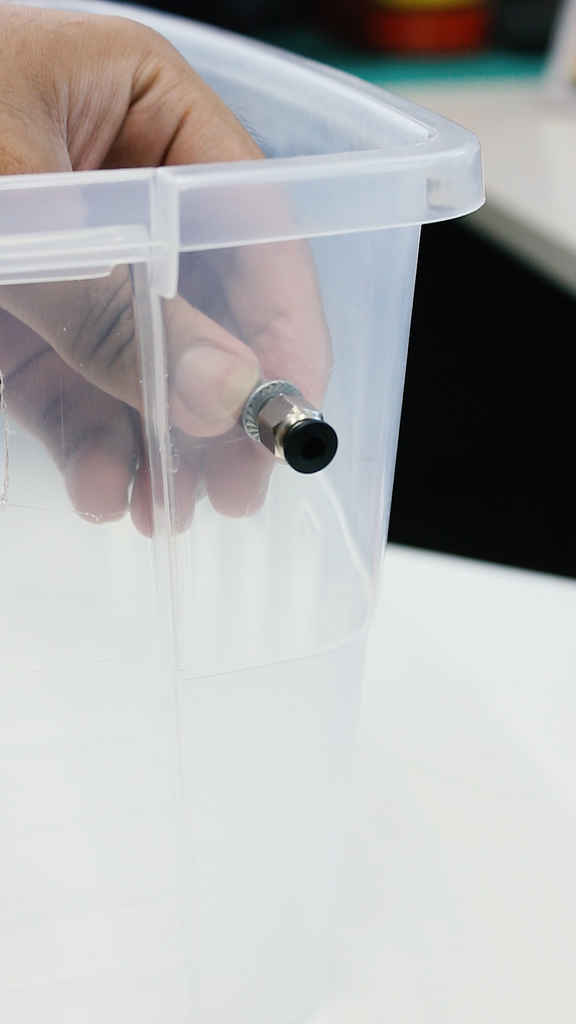
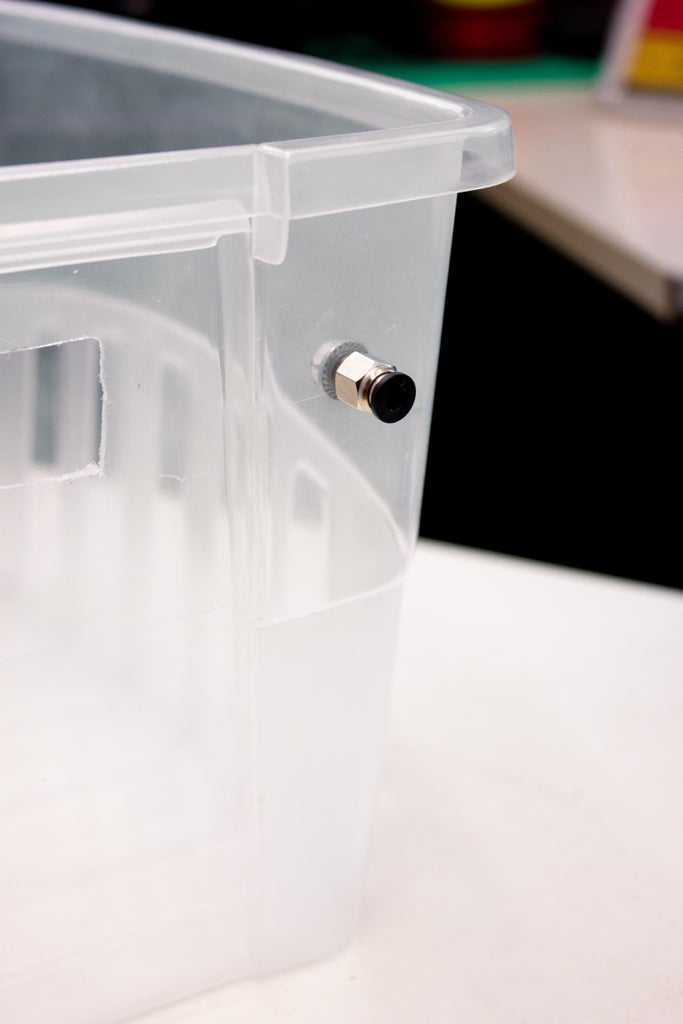
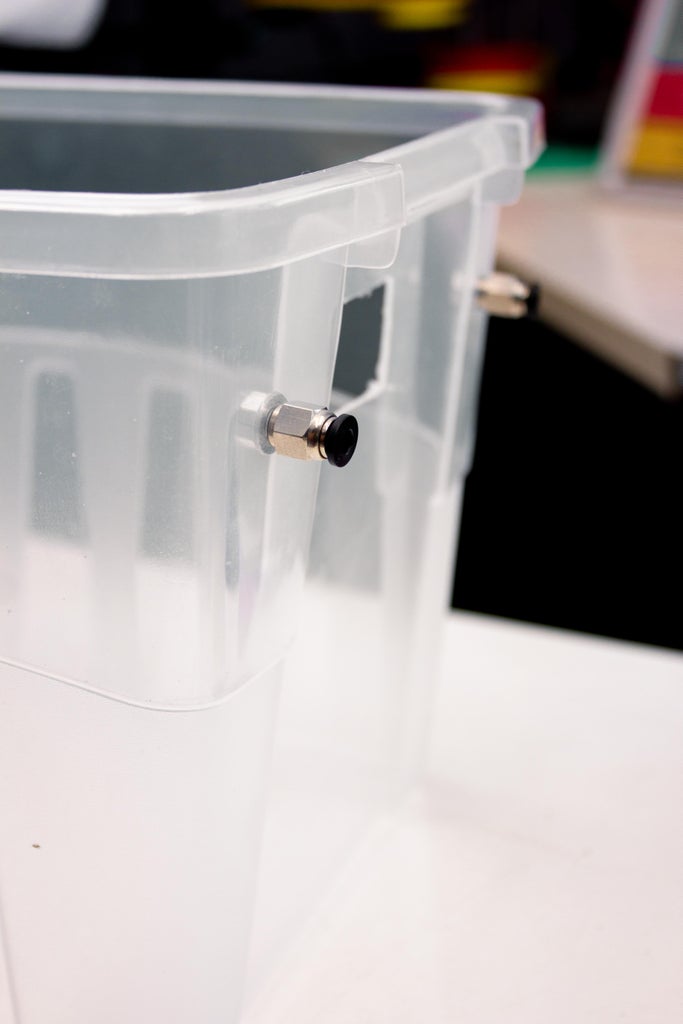
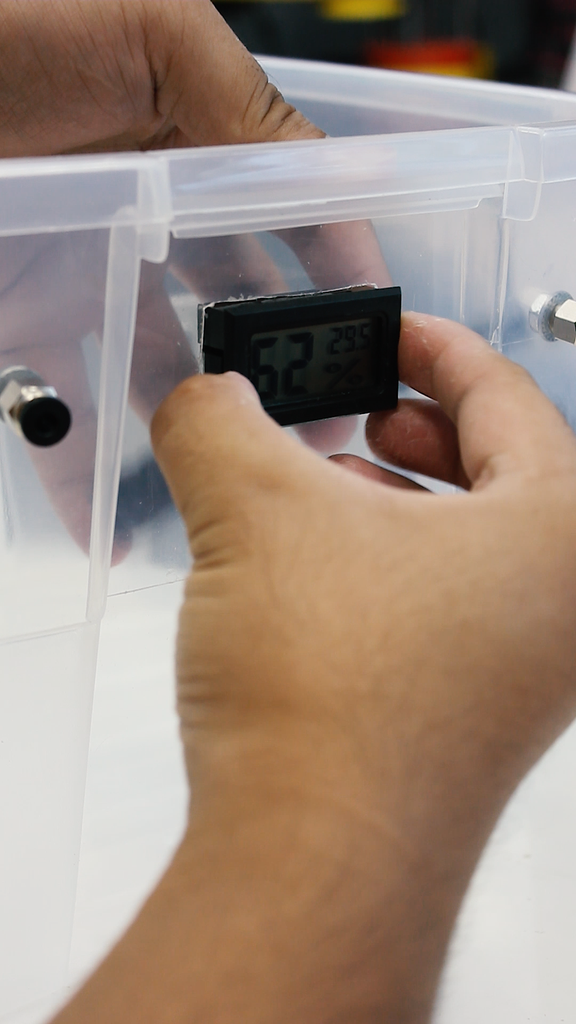
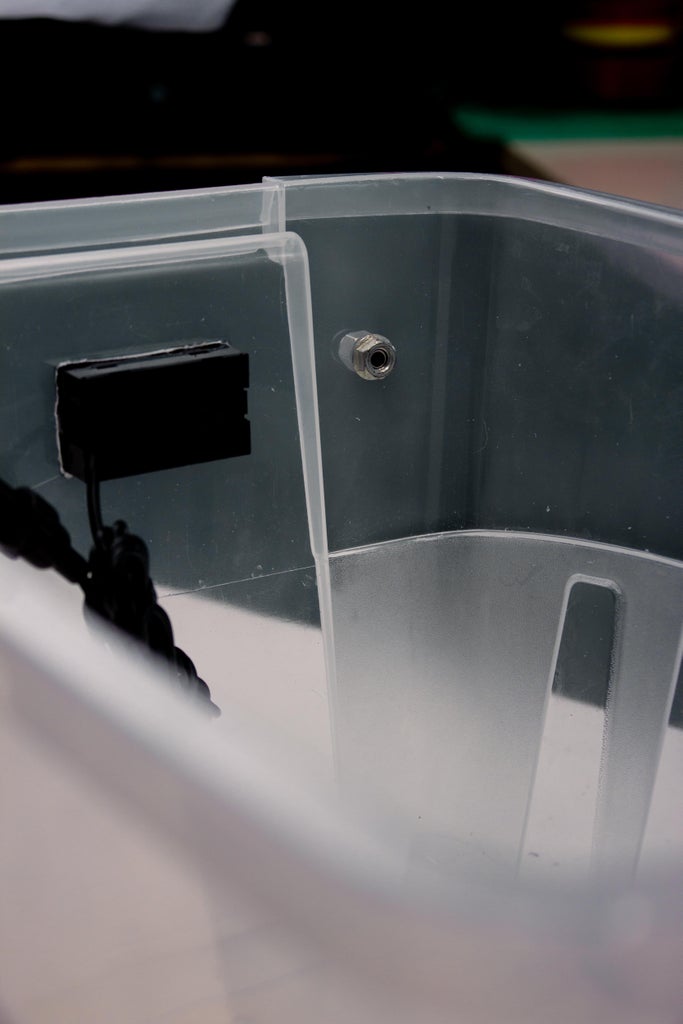
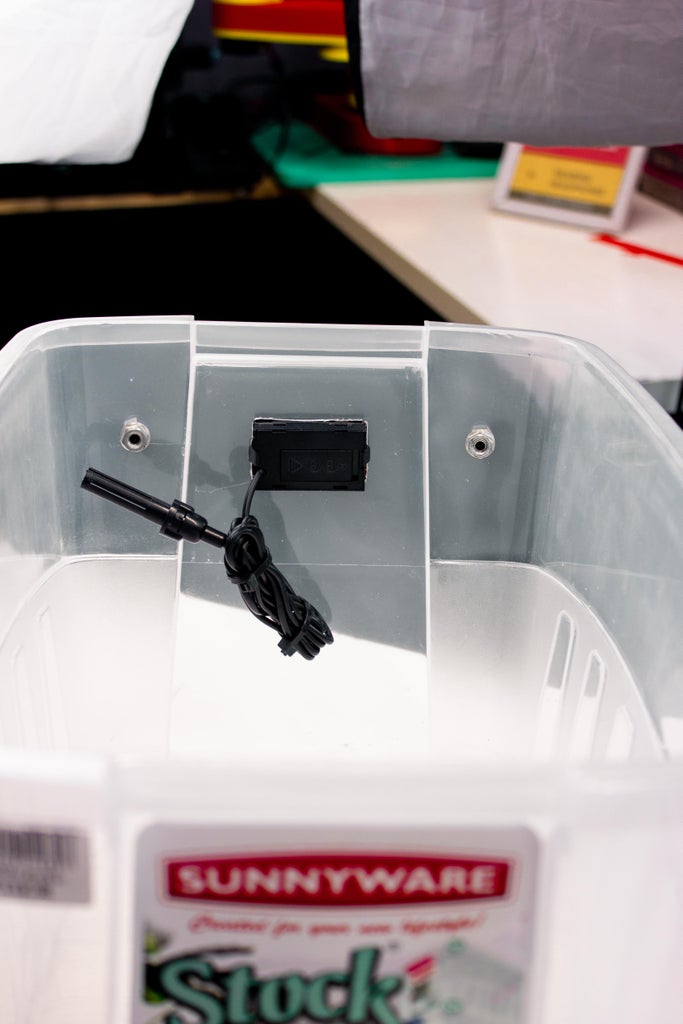
Next, we need to create a hole for the LCD and the pneumatic fittings in the container box. To do that, I first get the dimensions of my LCD and mark the container where I am going to cut, using my mini grinder. After doing that, I grab my drill to create a hole for the pneumatic fittings.
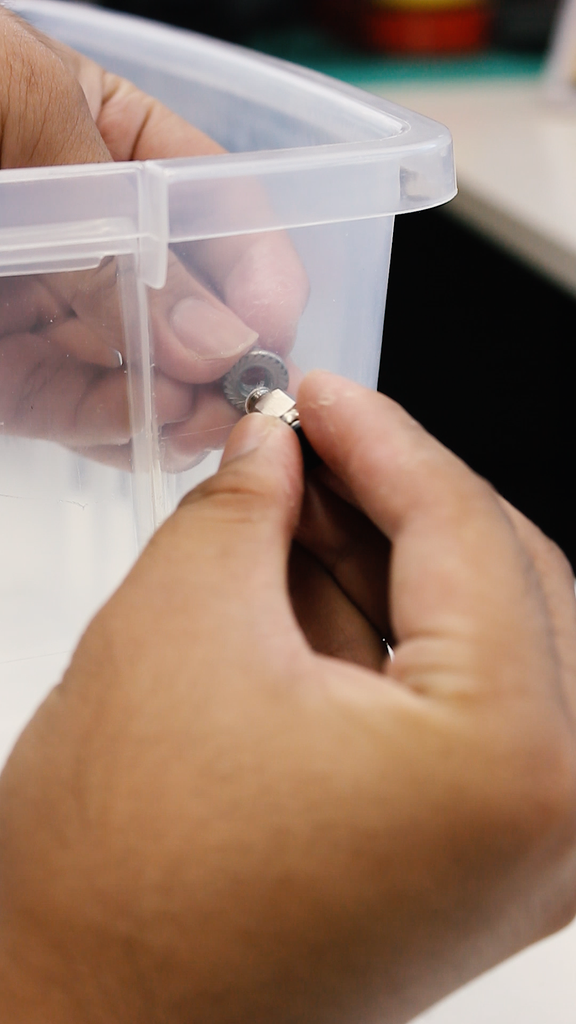
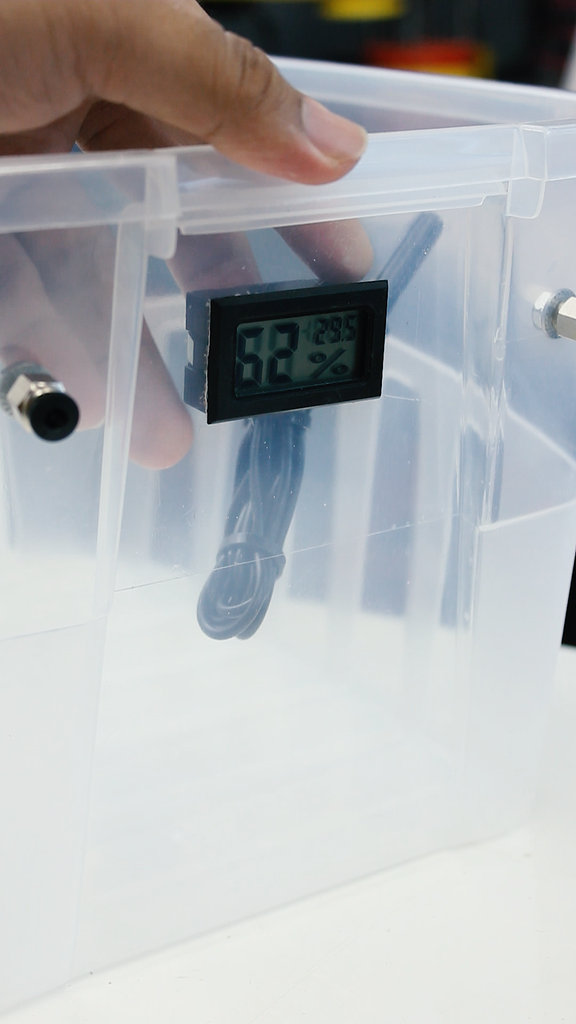
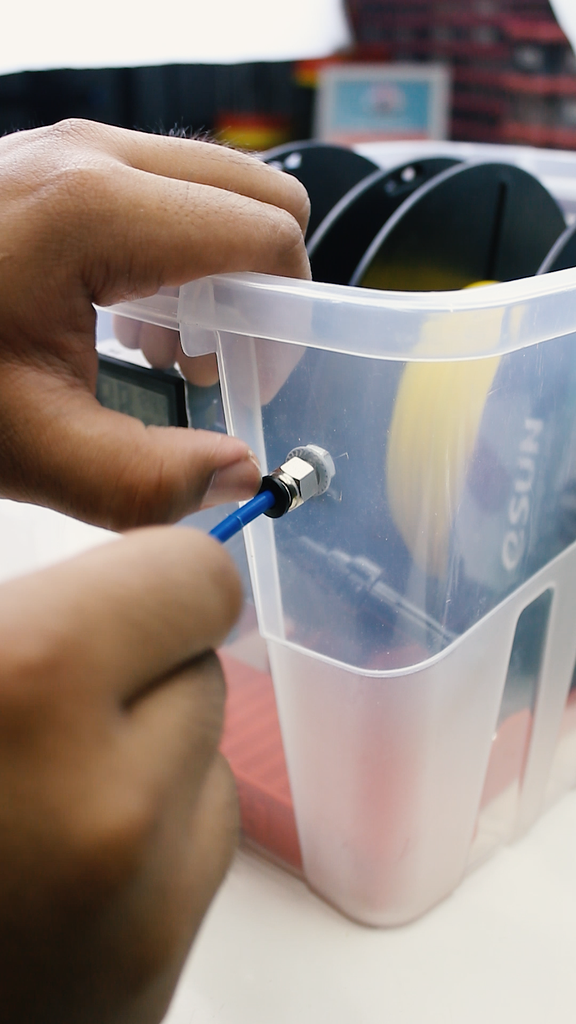
Now, it's time to place the pneumatic fittings into the hole. I make sure that it is tight by securing it with a nut, followed by placing the LCD in its respective place.
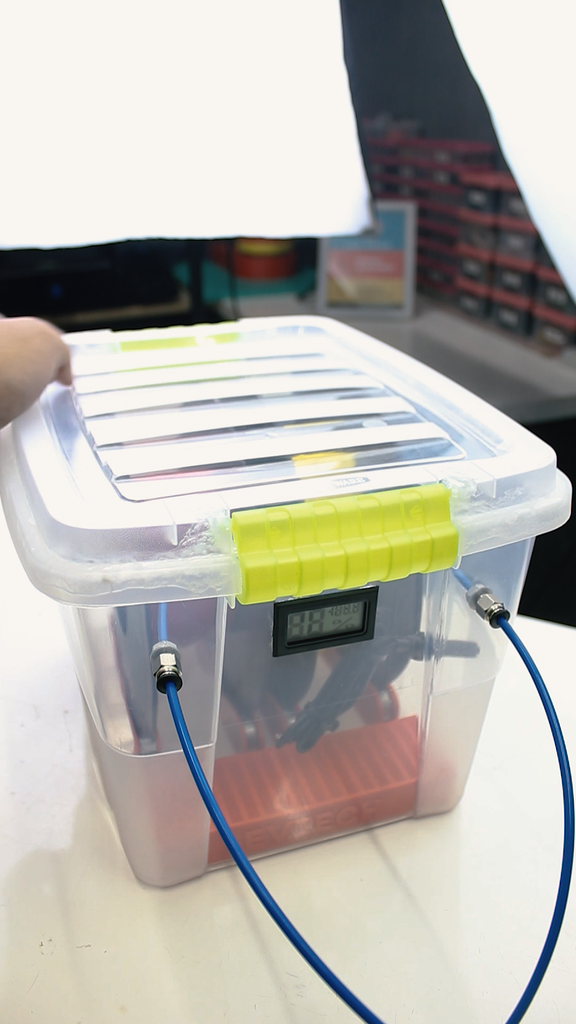
Step 3: Air Tightening

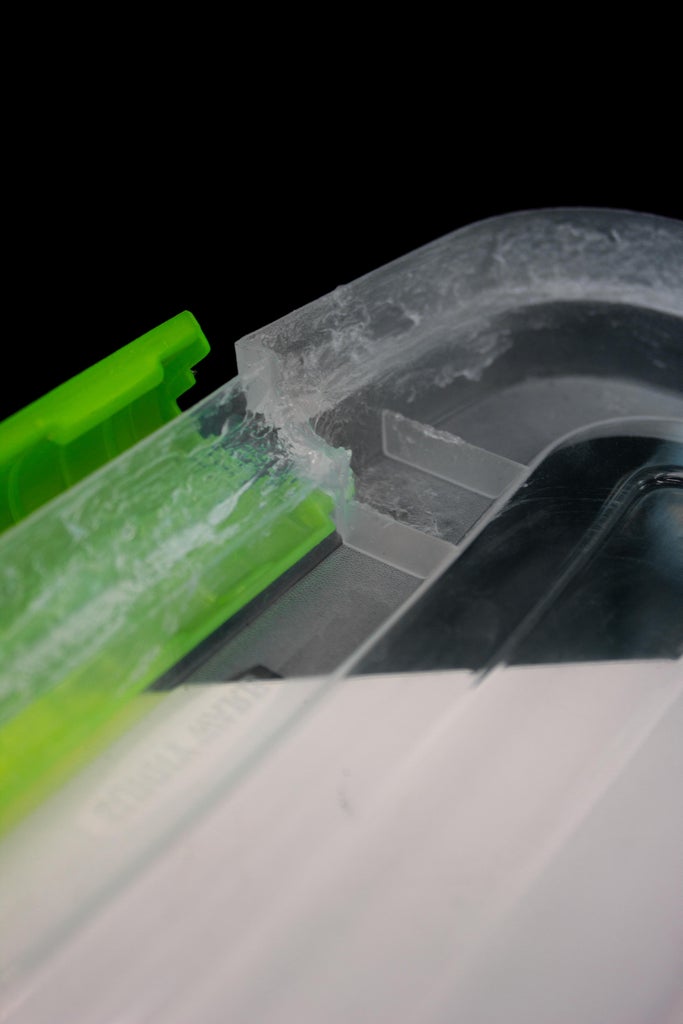
Since the container I have is not airtight, it means air can get in or out of the container box, and we don't want that to happen. Therefore, I used silicone sealant to make the container as airtight as possible.
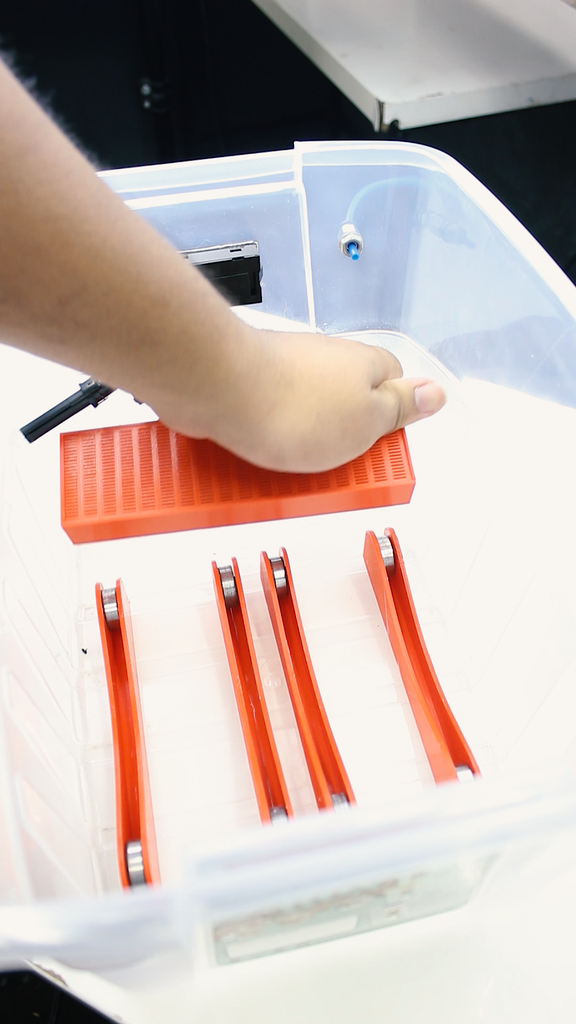
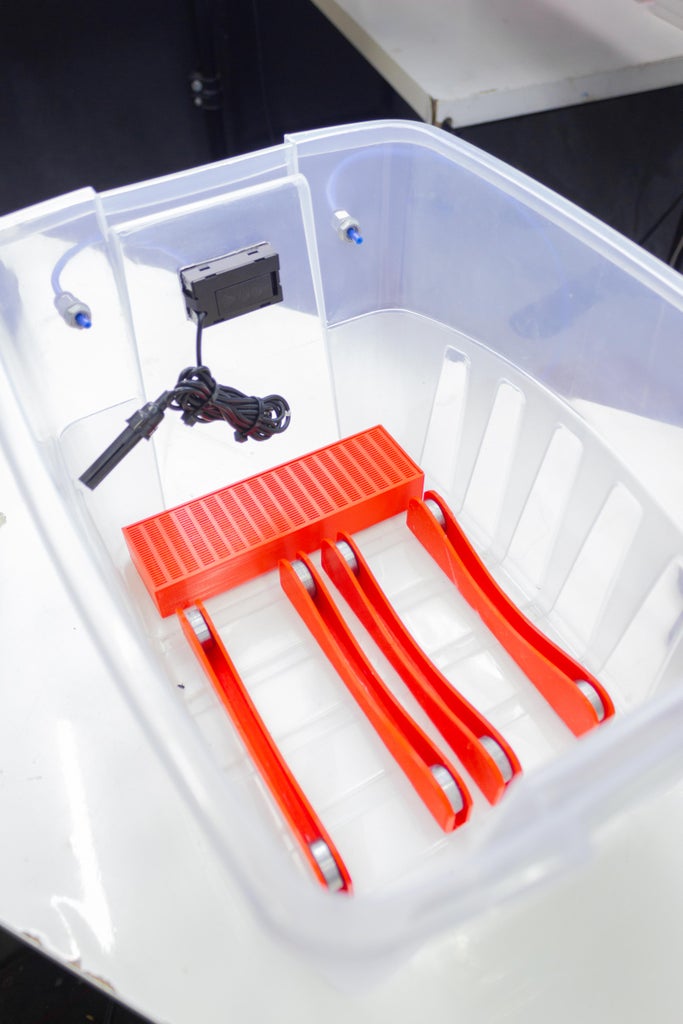
Step 4: Installing Spool Holder
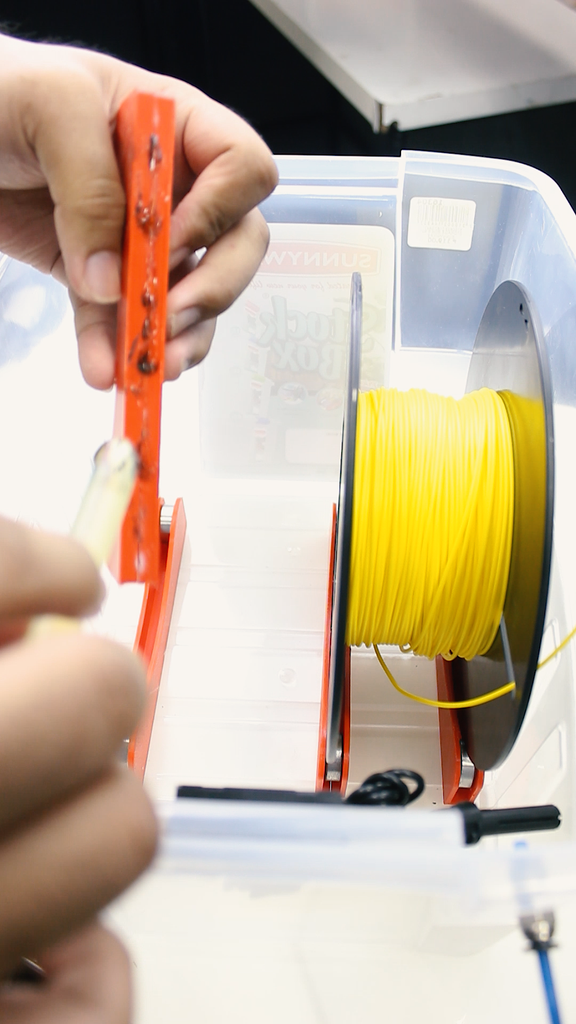
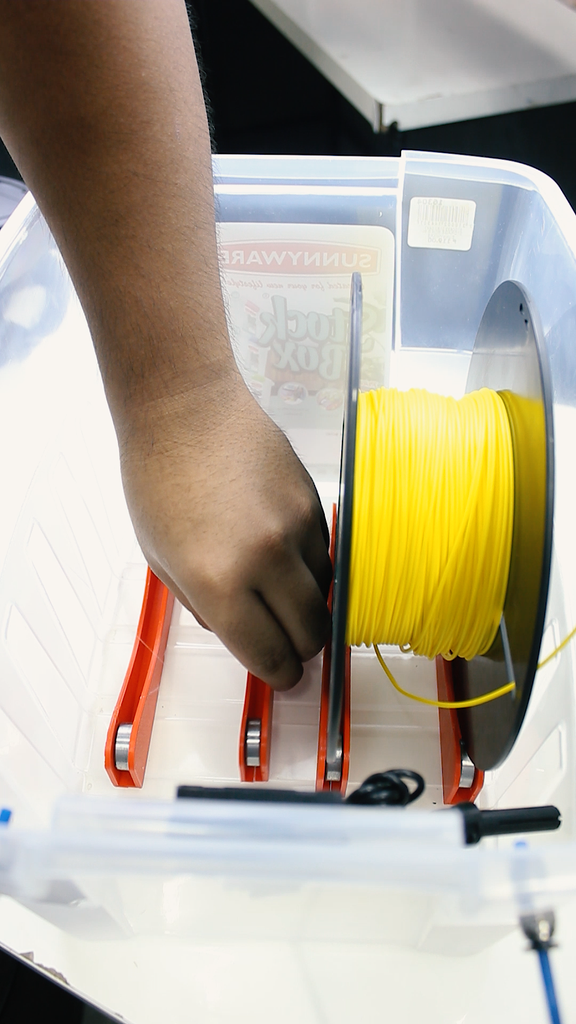
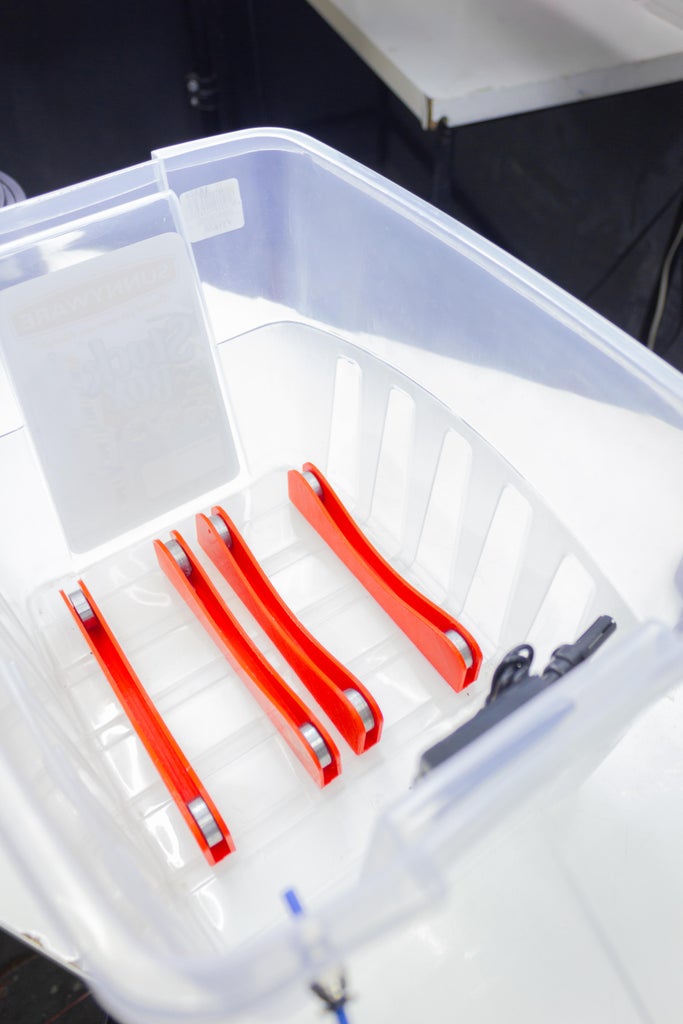
After that, I used a stick of glue to attach the four pairs of spool holders inside the container box
Step 5: Silica Gel As a Dehumidifier
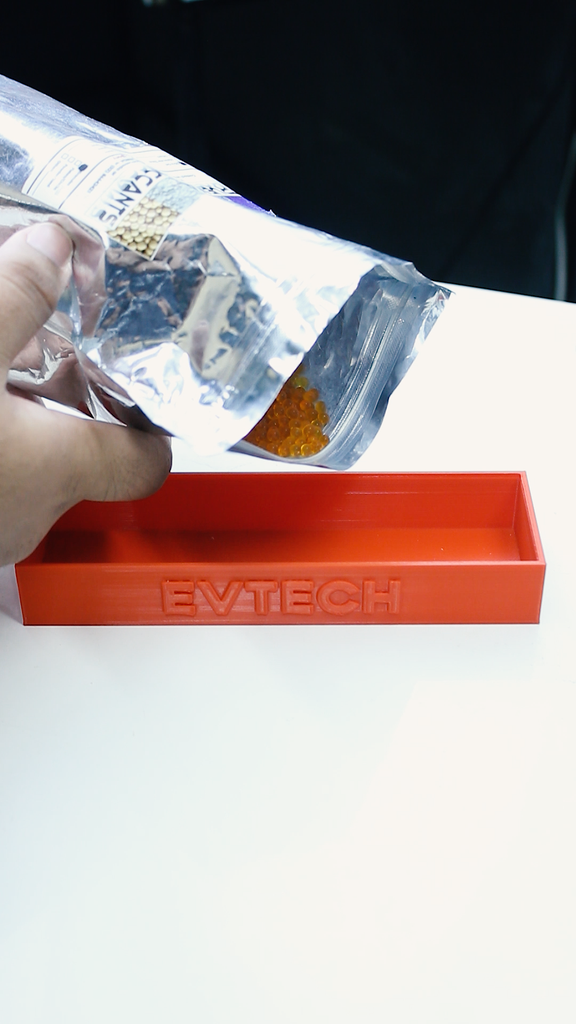
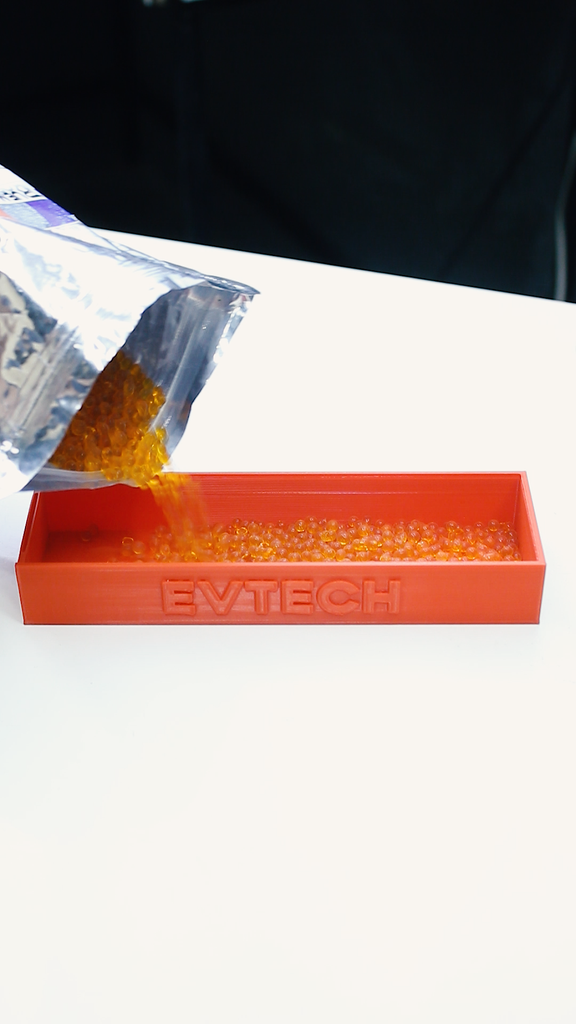
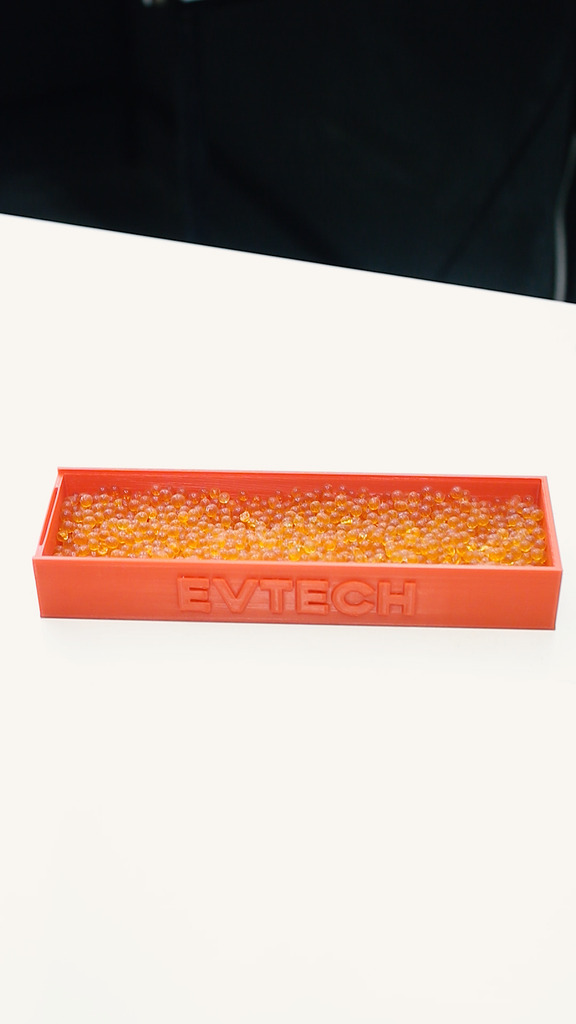
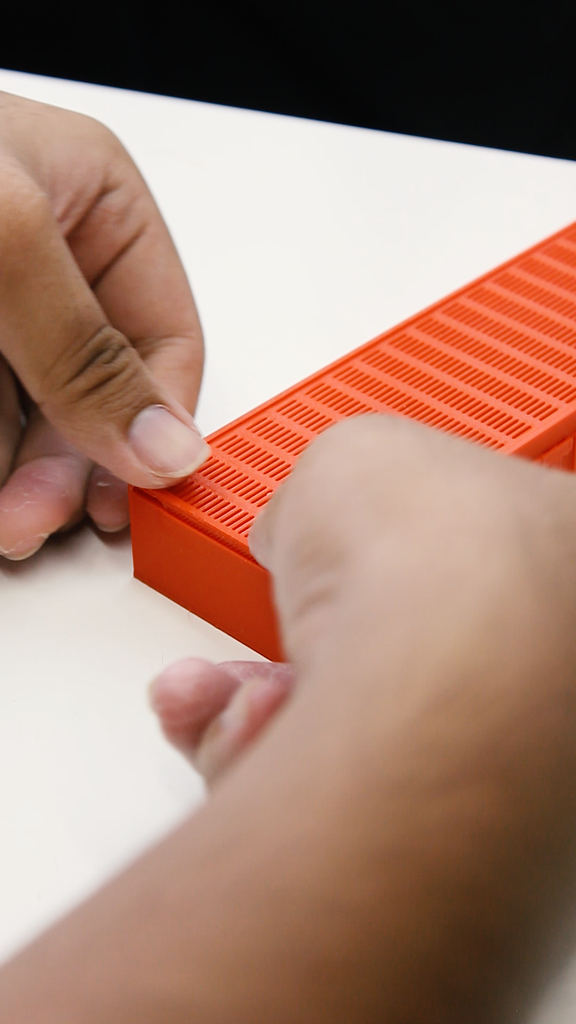
Next, it's time to fill up the 3D printed silica gel enclosure with silica gel. Silica gel is the same substance you find in small bags that usually come with shoes or 3D filament to keep them dry. It absorbs moisture, and when heated, it becomes dry again—allowing you to reuse the same beads again and again.
After filling it up, close the enclosure with its cover, and make sure it is locked with these clips. Once done, place it inside the container box, and ensure it is attached to the base of the container so that it doesn't move around.
Step 6: Installing PTFE Tube in the Pneumatic Fittings
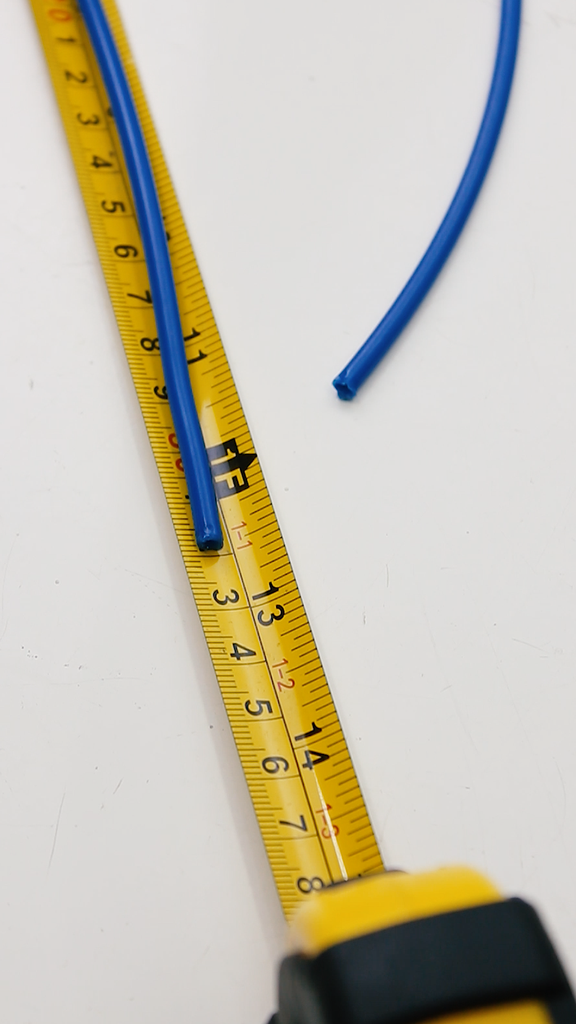
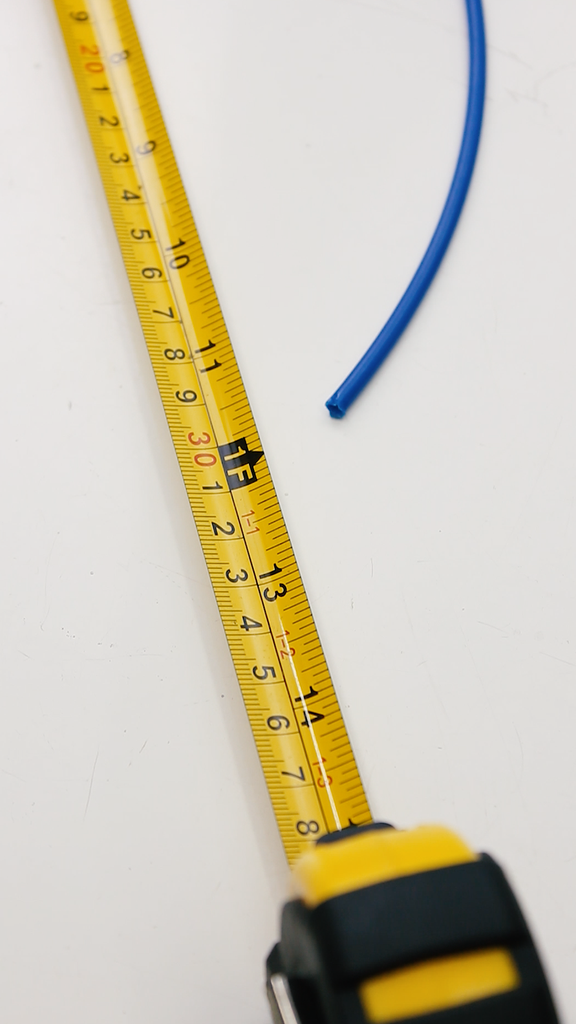
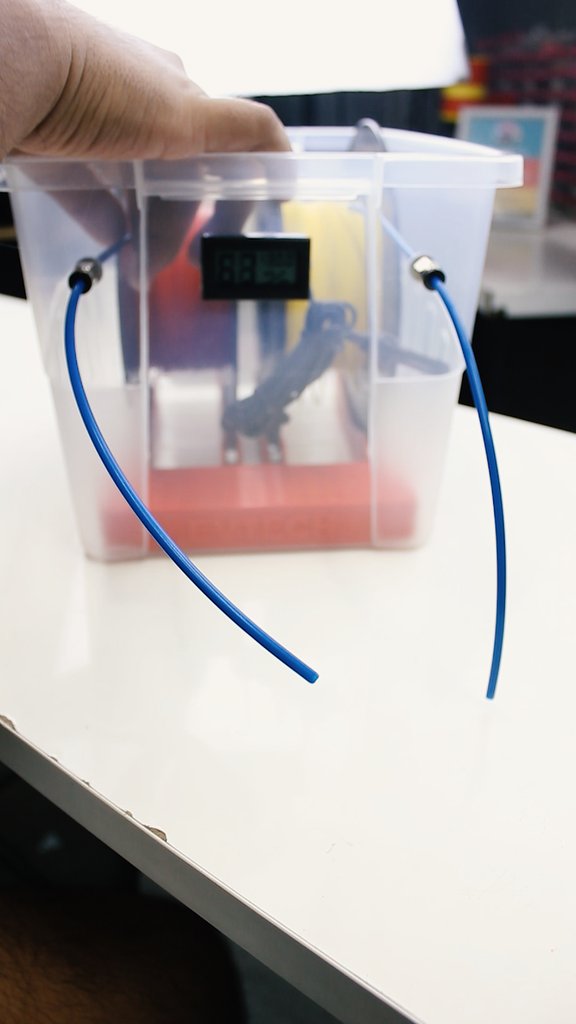
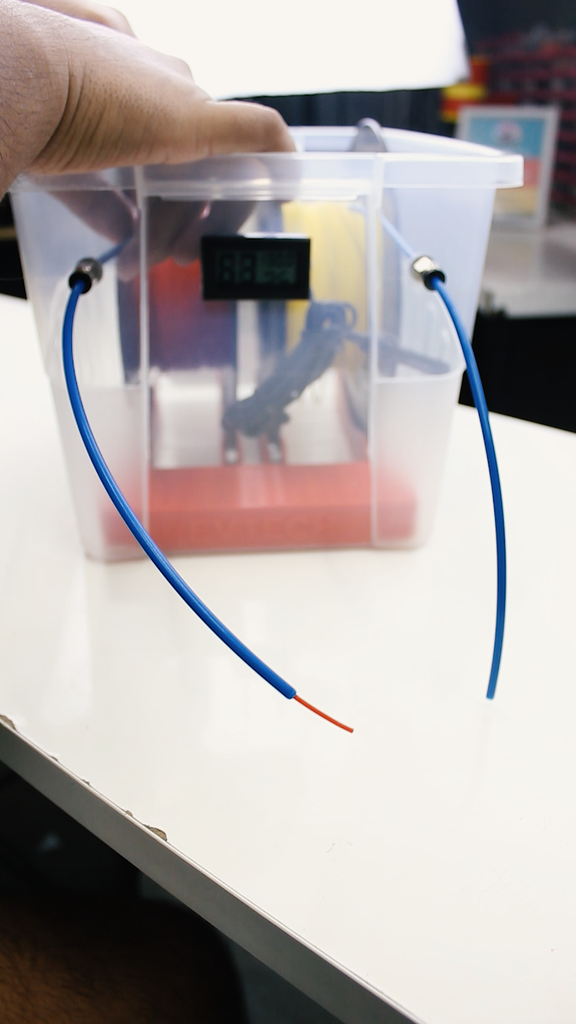
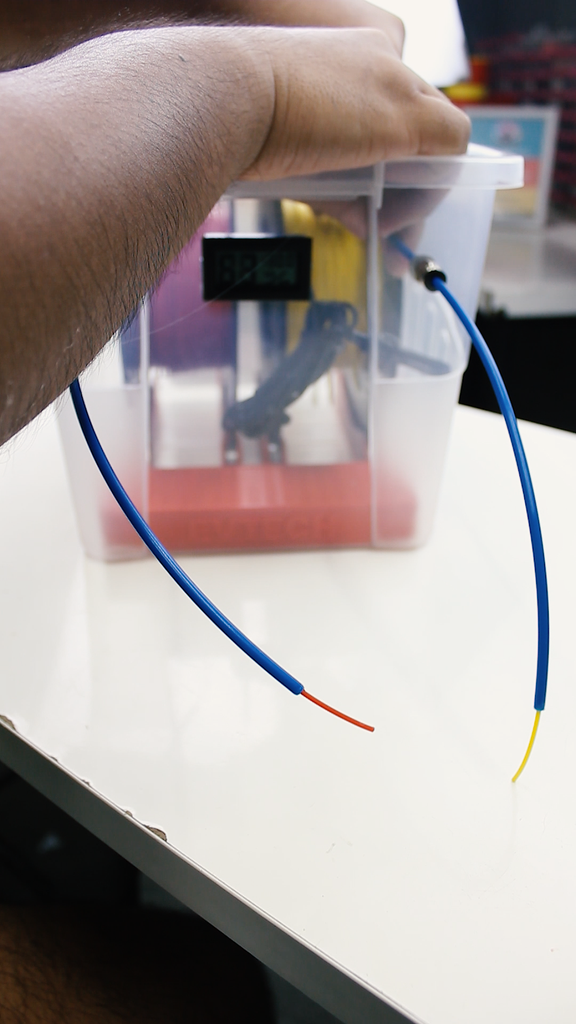
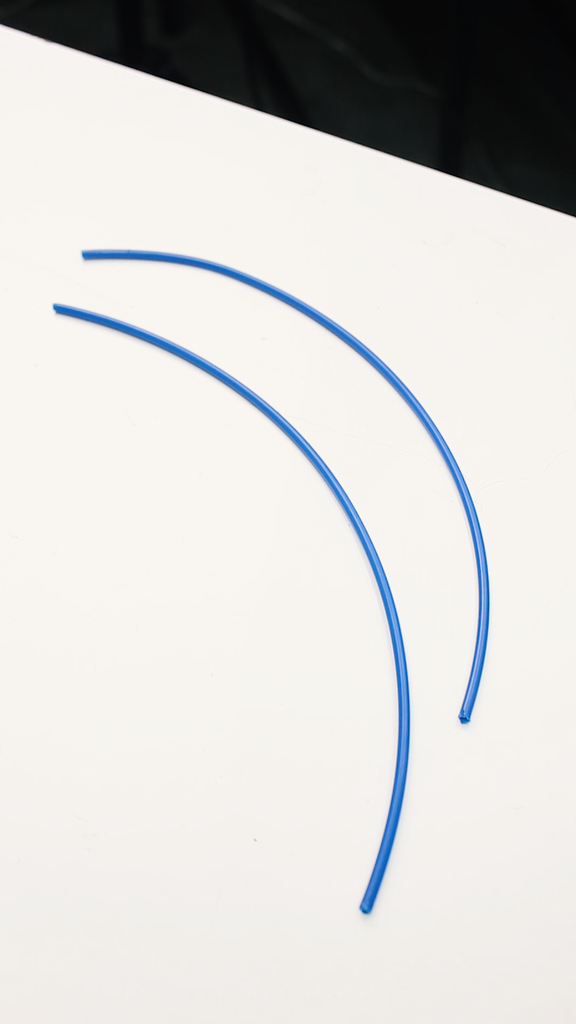
Next, we need two pieces of 32 cm PTFE tube to prevent dust and air from reaching the filament on its way to the 3D printer. With that said, it's time to insert the tube into the pneumatic fittings all the way to the filament. Also, don't forget to push the filament out of the tube before closing the cover of the container box.
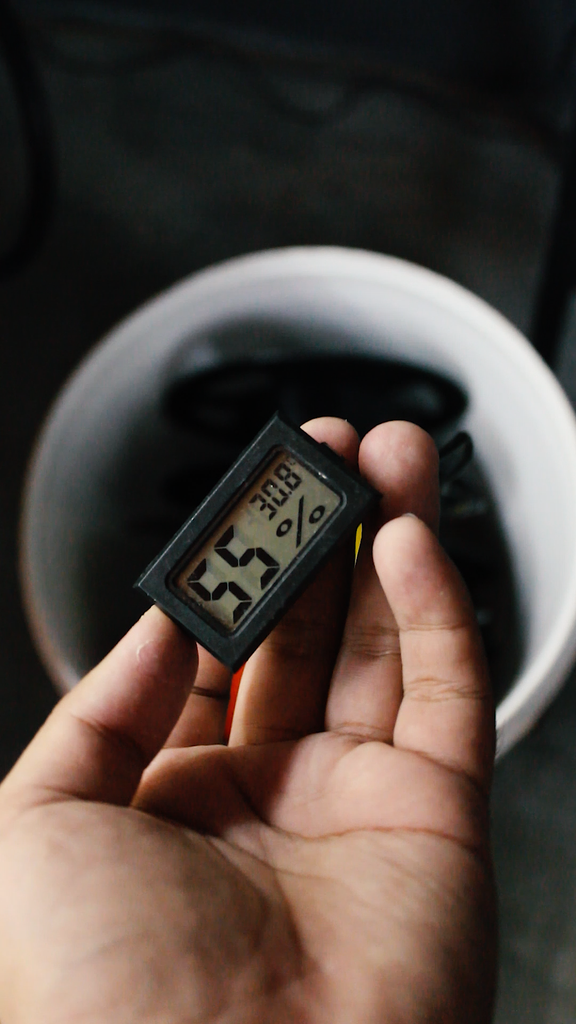
Step 7: Data Matters!
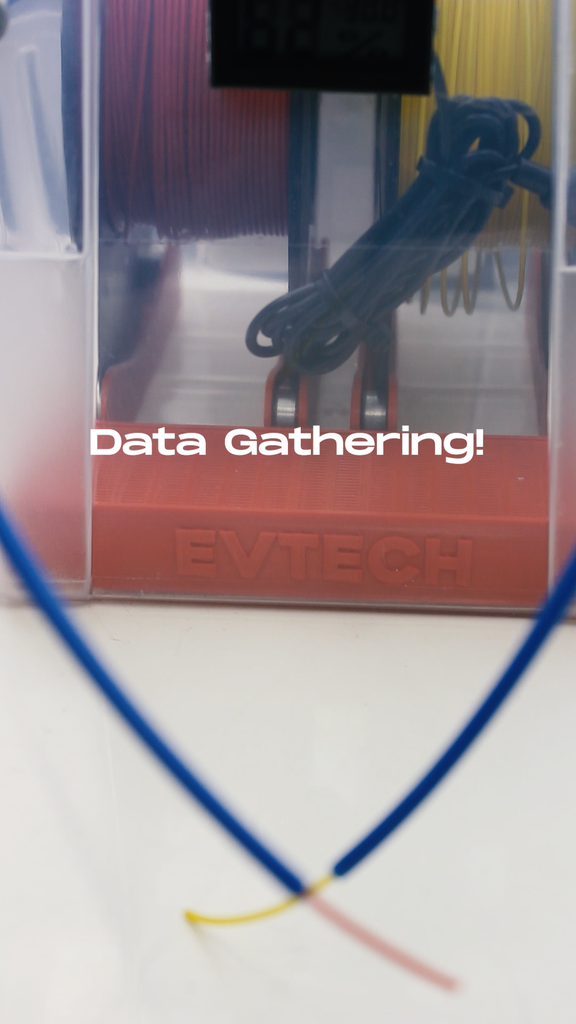
Of course, we need to gather data to ensure that this project is effective and not in vain.
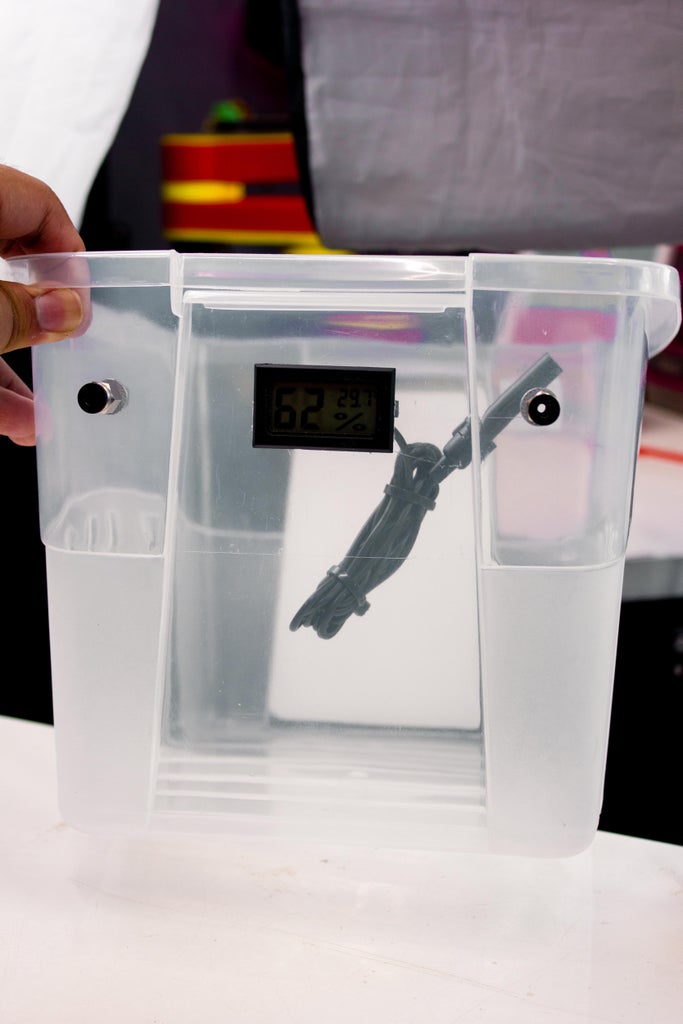
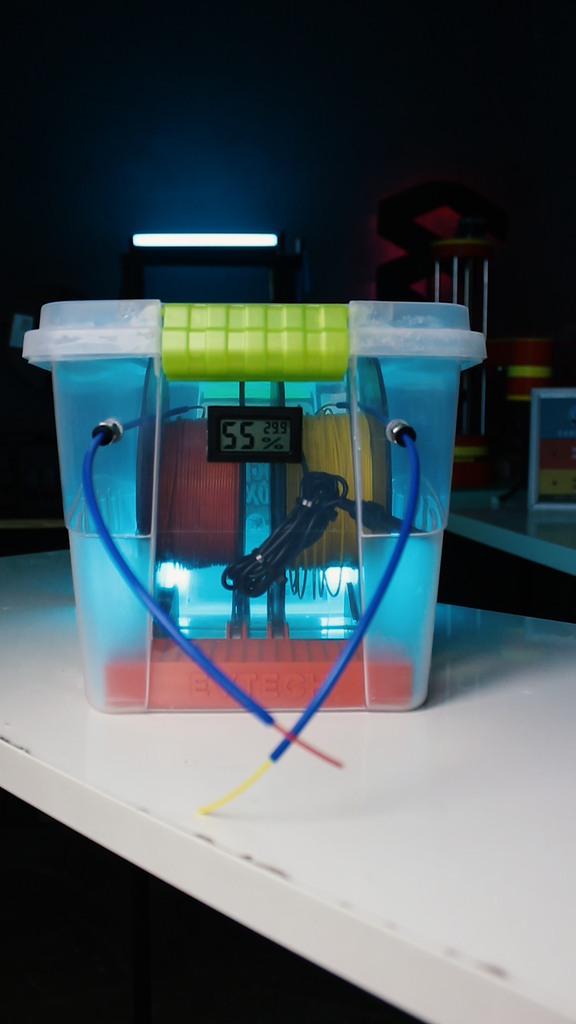
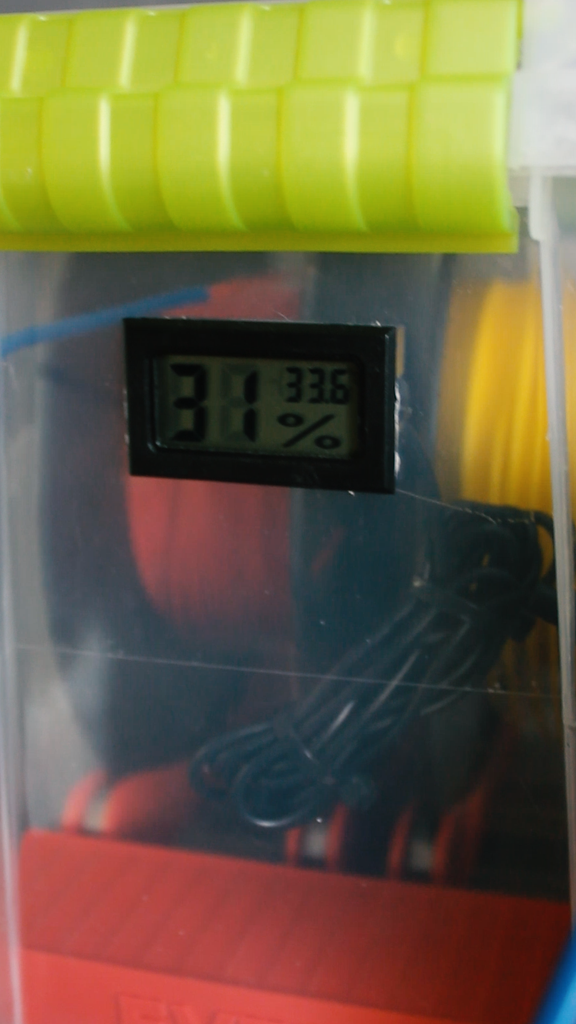
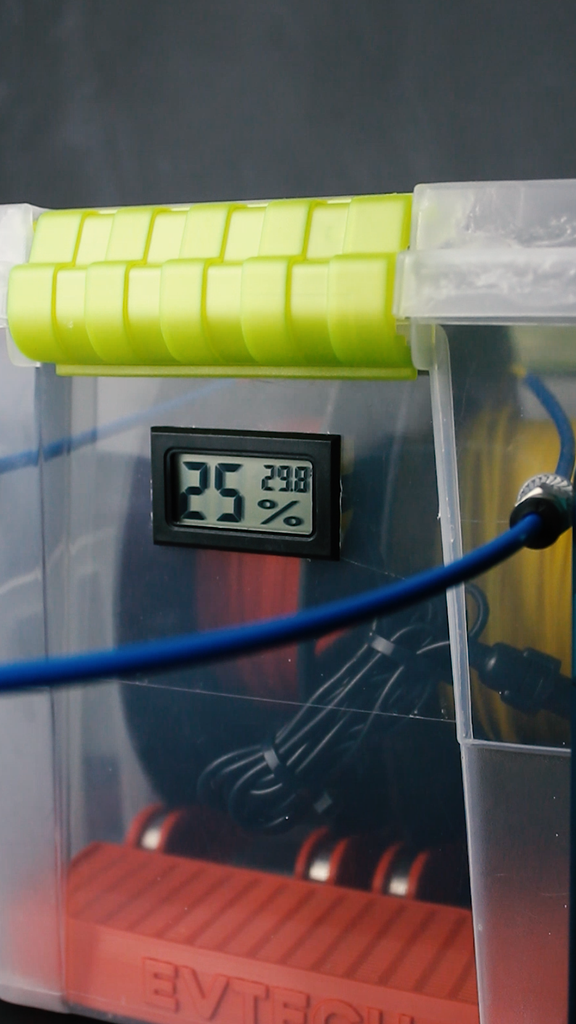
As you can see, while the box is open and there's nothing inside, there's 62% moisture in the air. Now, after the box is closed for almost 5 minutes with all the materials inside, the humidity goes down to 55%. After 7 hours, the humidity further decreases to 31%. After almost 16 hours, the humidity reaches 25%.
With all the data that we have gathered, we can conclude that this project is successful!
Step 8: Enjoy!

There you have it—the project is completed! It's time to sit back and enjoy the fruits of your labor. That print looks so nice!
And as always, keep learning and have fun! Bye!


33 Comments
8 days ago
Unfortunately it is not exactly clear which box should be used... Dimensions or item number would help.
Reply 6 days ago
I'm using the 30x40x21 cm "Euro" boxes from Obi (kinda homedepot) - they're good for 5 rolls of filament (6 if they are cosy, but then you can never add an Amazon Basic spool :-D ) if that's a vendor within your reach
Reply 3 days ago
Hello. Thank you for the answer.
Reply 4 days ago
Hello, JHSt!
I forgot to add this deail to the materials; thank you for this comment.
I used a 10L container with dimensions of 25m x 23m x 30m.
Let me know if you have any other questions about this project.
Reply 3 days ago
Hello. Thank you for the answer.
Question 8 days ago on Step 7
what are the enclosure dimensions, please?
Answer 4 days ago
Hello, cruiseon!
I forgot to add this deail to the materials; thank you for this comment.
I used a 10L container with dimensions of 25m x 23m x 30m.
Let me know if you have any other questions about this project.
8 days ago
The music was too annoying to listen for very long.
Reply 4 days ago
Thank you for sharing your feedback! I appreciate your honesty, and I understand that not everyone may resonate with the same style. I strive to create content that is enjoyable for a wide audience, but I also understand that individual preferences vary.
If the music didn't align with your taste, I completely respect that. Feel free to explore other content creators who may better suit your preferences. Alternatively, if you have specific music suggestions that you think would enhance the experience for you, I'm open to hearing them. Your input is valuable, and I want to create content that both educates and entertains. Thank you for taking the time to share your thoughts!
8 days ago
A great project to try out. Thanks.
Reply 4 days ago
Thank you for your comment; it keeps me going! I appreciate it.
7 days ago
Rather than fight with the silicone sealant, I think I'd use some closed-cell weatherstrip to seal the box. Or, go for a gasketed box to start with...
Reply 4 days ago
Hi pearfarmer!
Thank you for your suggestion! I completely understand the point about using closed-cell weatherstrip or a gasketed box. However, my choice to employ this method is primarily driven by the desire to keep costs down, as gasketed boxes can be quite expensive. I appreciate your input and am always open to exploring alternative solutions that balance effectiveness and affordability. If you have any further recommendations or insights, I'd be glad to hear them!
7 days ago
Tip: When placing silicone sealant into lid seal, put in as much as you need, preferably in a nice cylindrical bead, THEN cover with saran wrap and place lid on container only partially compressed. When cured, remove food plastic wrap (releases easily), and you will have a professional looking, perfectly contoured seal.
Reply 4 days ago
Hello Christianv108!
It sounds like a great way to achieve a professional-looking and perfectly contoured seal. I appreciate the advice!
8 days ago
Excellent project.
I've run across filaments that come on spools of different widths. Suggestion for v2.0: make the bearing holders connect in pairs and the distance between them be adjustable to allow more flexibility.
Securing the desiccant holder is a good idea but makes changing it out a bit of a challenge. Maybe velcro instead of glue? I have some small commercial versions of what you made. (4 of them would equal the length of yours I think). They change color when they're 'Full' and get 'reset' by tossing them in the microwave for a few min or an oven set on low temp for a few hours.
Definitely gonna give this build a go. Just got a new printer and it's huge so gonna have to set it up in the garage/workshop and humidity around here is a beast pretty much year round so a filament solution like this is exactly what I need :D
Reply 4 days ago
Hi scifideity,
Thank you so much for your
positive feedback on the project! I appreciate your thoughtful suggestions for
the next version. Making the bearing holders connect in pairs with adjustable
distance sounds like a great idea to enhance flexibility – I'll definitely
consider that for the next iteration.
Yeah, about that desiccant holder.
After a week of using it, and it’s time to reheat my desiccant I just realized
that I shouldn’t put stick glue on the bottom of it, because it can be hard to remove.
Velcro is a fantastic suggestion for ease of replacement; it provides a secure
hold while allowing for convenient removal and reattachment. I'm thrilled to
hear that you're planning to give the build a go, especially with your new and
spacious printer.
Best of luck with your printing
endeavors in the garage/workshop, and I look forward to hearing about your
successful experience with the project!
Reply 6 days ago
totally agree.
Instead of the spool rollers proposed by the OP, just use https://www.thingiverse.com/thing:6123473 together with https://www.thingiverse.com/thing:6125531 and - optional - https://www.thingiverse.com/thing:4720152
Reply 6 days ago
Those are good ideas!
I printed these years ago https://www.thingiverse.com/thing:994880 but adjusting them is a bit of a pain.
6 days ago
I had this exact idea for a project I did for my school! This one looks so much better!