

Introduction: Make a Four-Tone Junk Trumpet


This is an incredibly loud 4-tone homemade horn, made out of old wrapping paper tubes, cardboard, tape, hot glue, and a few balloons.
It looks like a pile of garbage (because it literally is) BUT it's a loud pile of garbage! :D
I was playing around with materials I had on hand, trying to make a cheap but loud DIY noisemaker, and honestly this turned out a lot better than I expected. You can make this in about an hour.
If you want a great way to make some noise as you ring in the New Year, save your holiday wrapping paper tubes and make one of these. It may be a perfect holiday season craft for both kids and adults, for a few reasons:
- very easy and accessible
- uses mostly recycled materials
- costs almost nothing
- quick
- most important: very silly and FUN!
- no expensive tools or parts required: no 3D printing, electronics, etc.
You can hear a sample of the horn in the sound clip below.
Attachments

Supplies

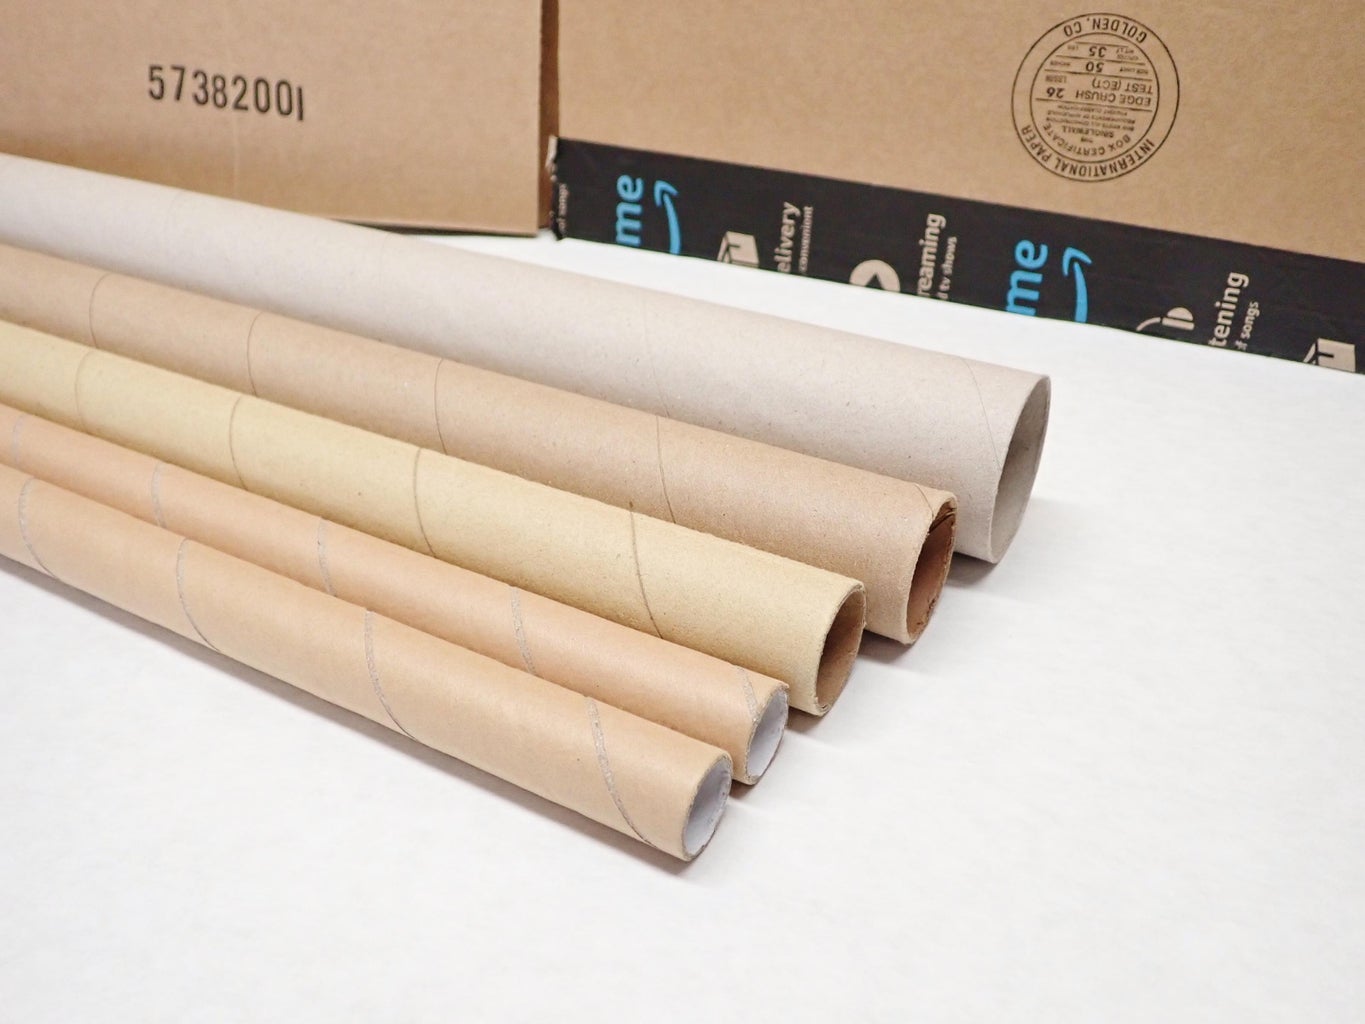
To make this you will need old cardboard tubes of various sizes.
I made this using holiday wrapping paper tubes, but all kinds of old cardboard tubes could be used (paper towel tubes, aluminum foil or cling wrap tubes, and so on).
You will also need a little bit of corrugated cardboard, some large balloons, hot glue gun, electrical tape, and a hobby knife or small hobby saw to cut the tubes.
For this trumpet I made four different noisemaking bodies that create different tones, with each body attached to the same main tube.
Each noisemaking body is made of two tubes that are joined together, that have a vibrating diaphragm (a piece of latex balloon) stretched over the top ends of the tubes. The center tube in the body acts as a resonator and produces a tone. The construction steps will make this more clear as you read on.
The principle in play here can be found in various forms, but here's a perfect example of a dual-tone noisemaker right here on Instructables. Step 11 of that project has a great diagram that shows how this principle works.
Step 1: Cut Tubes
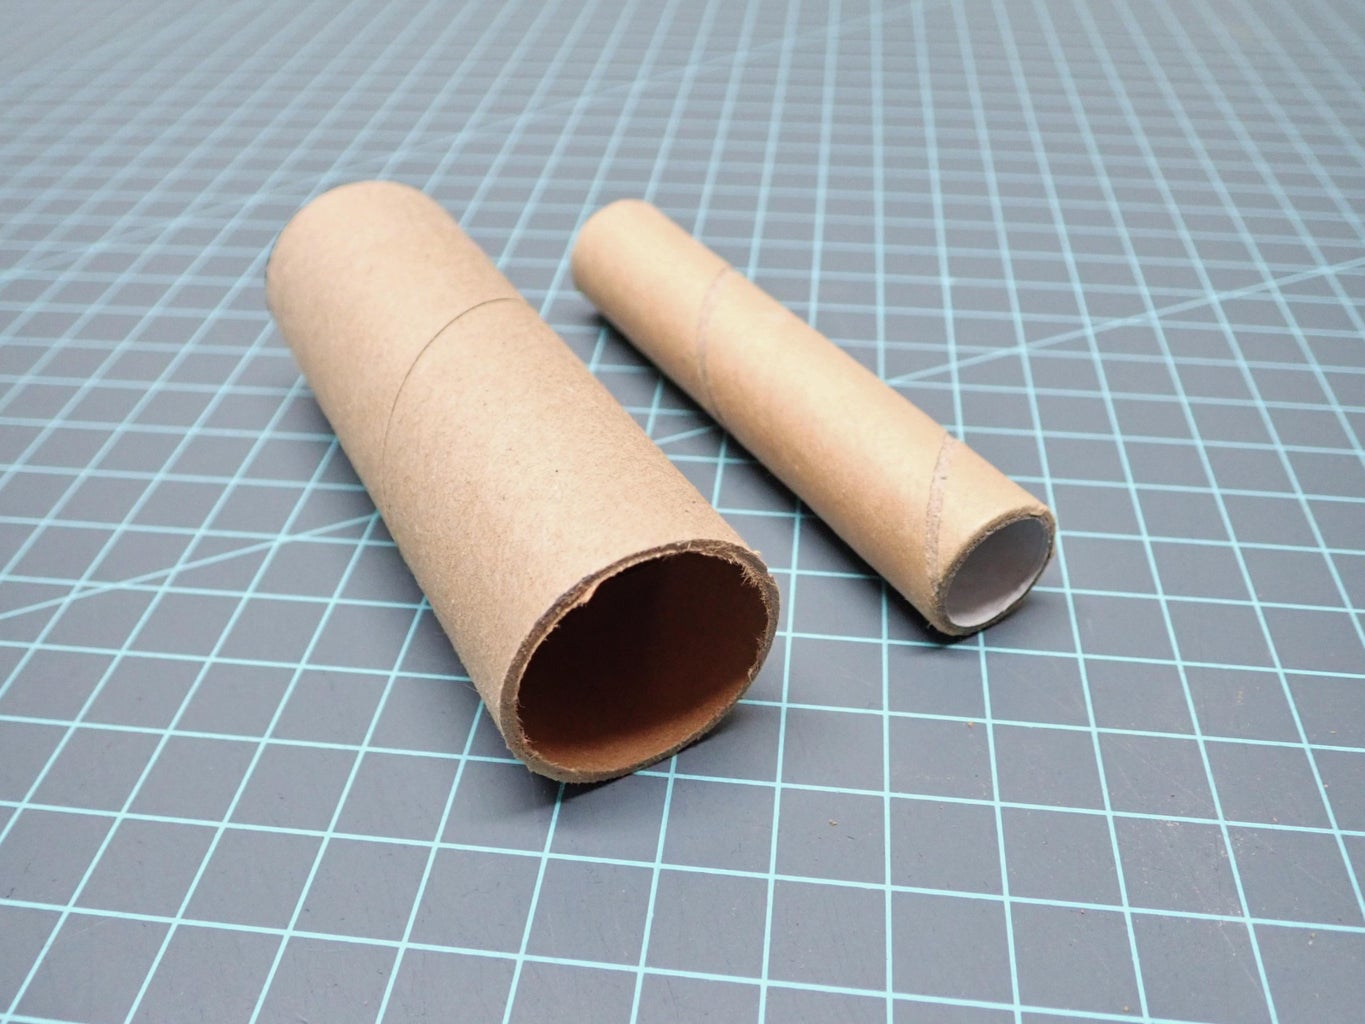
Each noisemaking body is made of one outer tube and one center tube.
You can use any size of tubes for this, but there must be clearance between the inner and outer tubes. Keep in mind that more clearance means more air can pass by, and if you have multiple noisemakers working in conjunction it might require more air than you can actually force out of your lungs to make it work.
With my completed trumpet I can make a low-air blow that will engage 1 or 2 of the noisemakers for many seconds, but making a full-air blast that engages them all can only be done for a couple seconds. So as you make this it's important to play around and test as you go.
Different diameter tubes and center tubes of varying lengths will affect the tone that is produced. For the four noisemaking bodies I made, the outer tubes are all about 4 inches long. Two of the center tubes are the same length, and two of them are 8 inches.
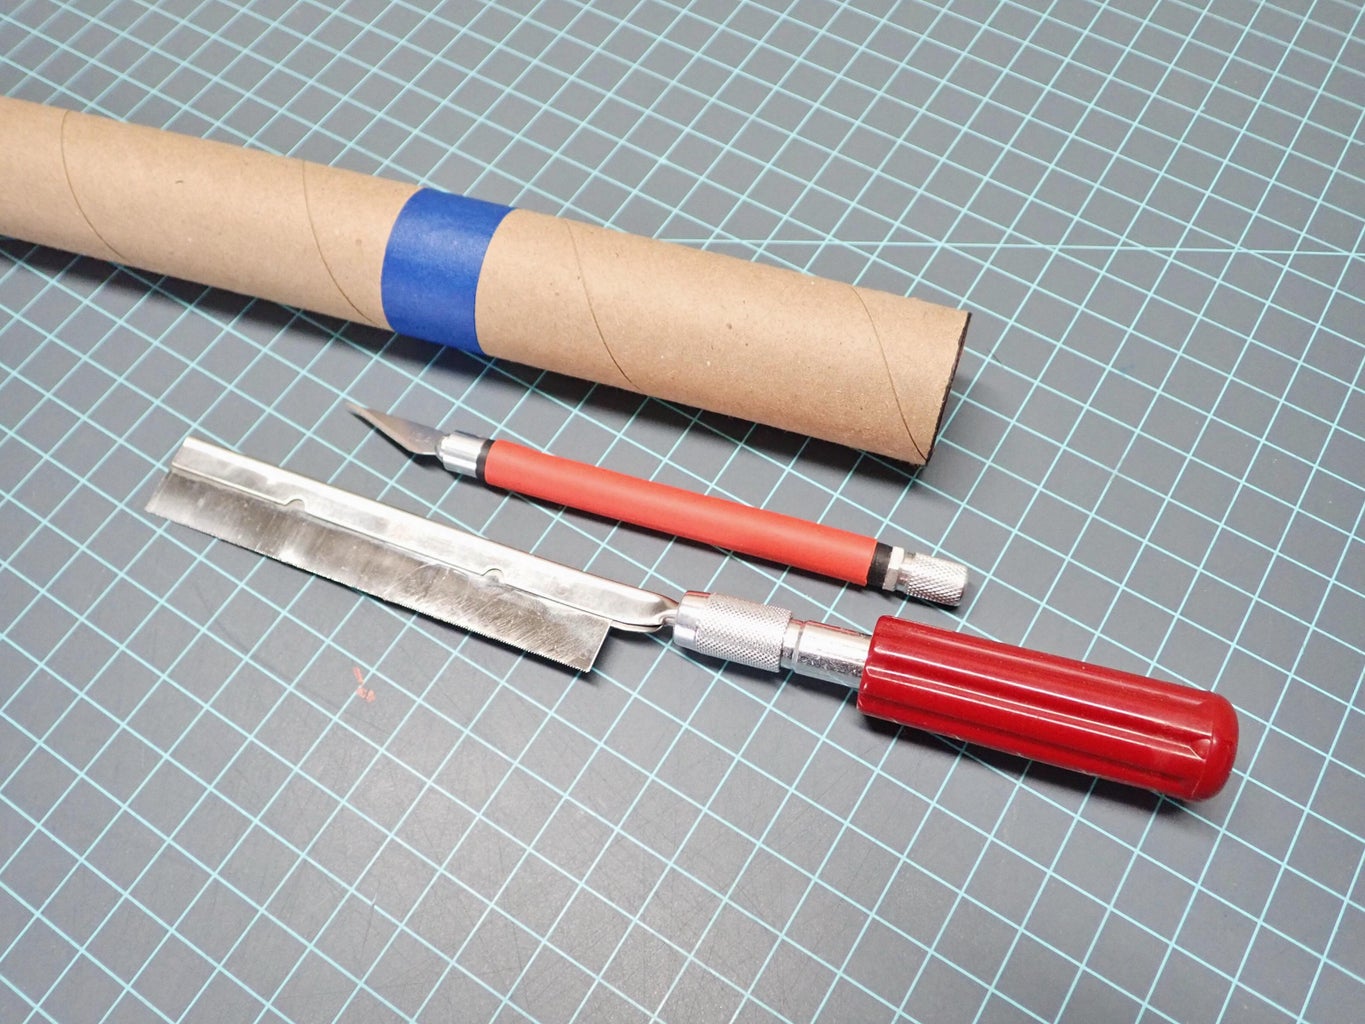
You can use a hobby knife or a small hobby saw to cut the tubes. It helps to wrap a piece of tape around the tubes to give yourself a nice cut line to follow.
Step 2: Add Bulk to Center Tube
The bottom end between the center tube and the outer tube needs to be plugged up.
To do this I cut strips of corrugated cardboard and firmly pressed them flat. The strips of flattened cardboard are hot glued and wrapped tightly around one end of the center tube, about a 1/4 inch away from the end.
A little trial and error is needed to wrap on just enough cardboard to the center tube until the bulked up section will fit snugly within the outer tube.
When the center tube is bulked up enough, glue down the end of the cardboard strip with hot glue so it doesn't unwind.
Step 3: Join the Tubes
Before joining the tubes, use a hobby knife to cut a small 1/4 inch hole in the middle of the side of the outer tube.
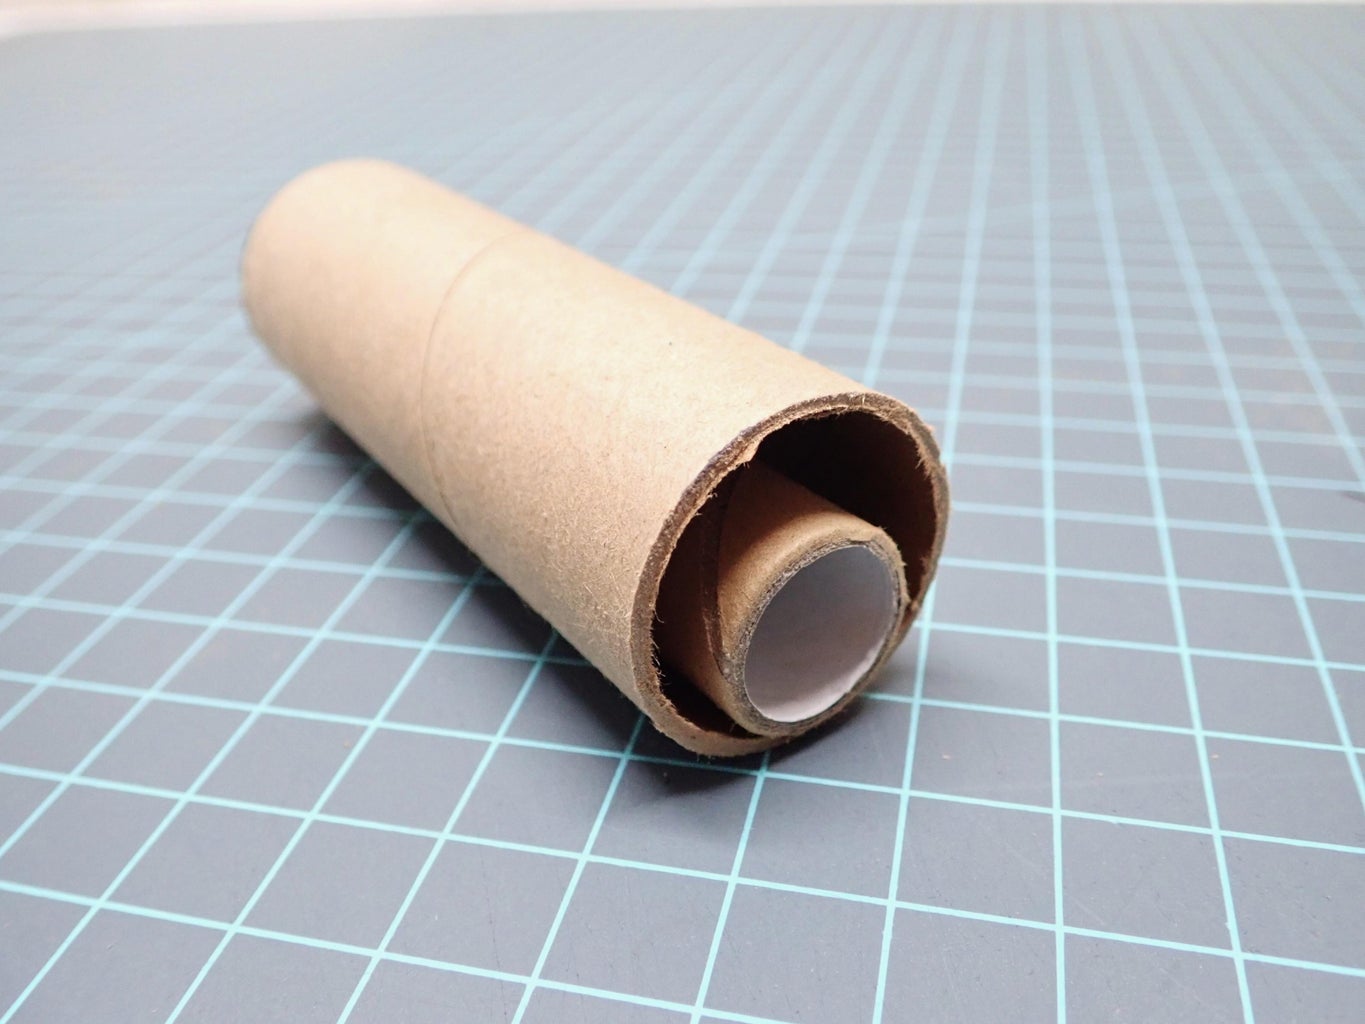
Slide the center tube into the outer tube and make sure the non-plugged ends are flush. This is critical for the noisemaker to work correctly.
Place the end with the flush tube ends down and fill the opposite end with hot glue around where the cardboard plug is. Let the glue cool completely.
Step 4: Add Balloon
Take a balloon and cut off the filler neck end, and stretch the remaining balloon piece over the non-plugged end of the now-joined tubes. The balloons I used are standard 12" party balloons.
The balloon needs to be stretched tight over the end and then taped firmly in place. I used a 12 inch long piece of electrical tape to wrap around the sides of the balloon after pulling it tight and holding it in place.
The excess balloon material below the tape is trimmed off and another wrap of tape was added to cover the little fringe edge of balloon.
Step 5: Alternate Versions
I now made three other noisemaking bodies using different sizes of cardboard tube, but in the same manner as shown in the previous steps.
Two of these were made with 8 inch long center tubes which makes a lower pitched tone than the shorter tubes.
Step 6: Main Tube
A 15-inch long main tube was prepared to hold the four noisemaking bodies.
This tube was plugged on one end with rolled up cardboard and sealed over with hot glue.
Four small 1/4 holes were cut near the plugged end of the tube, spaced out to match where I wanted to glue on the noisemaking bodies.
This main tube is about 3/4" diameter and was from a small roll of wrapping paper I had. If you can't find a narrow-ish cardboard tube like this, a short piece of small diameter PVC pipe could be used. It would require drilling the air holes and gluing on an end cap, but I think it would work fine if needed.
Step 7: Glue on Noisemakers

I used hot glue to fix the noisemakers in place on the main tube.
A ring of glue was squirted around each hole and the noisemaker was carefully lined up so the holes matched, and then held in place until the glue cooled. Then more reinforcing glue was added to make a strong joint.
Step 8: Decorate and Make Some Noise!

Admittedly, this is kind of a boring and ugly looking thing, so I decided to spice it up with a little colored tape for flair.
That's it! Now you can make your own.
When yours is all done, give a little toot to test it out.
And then give it a HUGE BLAST, and watch everyone scatter.
Enjoy!

Finalist in the
Make Some Noise Contest


2 Comments
Question 6 days ago on Step 1
Hey heck yes arts!
Have you ever managed to cut anything with that X-Acto brand hobby saw? Mine struggles with cooked spaghetti...
Was this a fun Instructable? Heck yes!
Cheers!
Mr. Ham
Answer 6 days ago
Hi, thank you so much!
That's a good question. That little saw has been okay for small dowels and thickish cardboard tubes (anything that's too much for a regular hobby knife) but since it's a push-saw, it's a little fussy and the work piece needs to be held really firmly. I think there are probably better options.
I ordered a small and very thin Japanese flush-cut pull-saw (https://www.amazon.com/S-145-Flush-Cutting-Japanese-handsaw/dp/B000CE8RMW/) which I think will be a huge improvement. That will make an appearance in my next project I'm sure.